Launch faster
Quickstart your first VaultScope server
Follow the same provisioning path our support team shares with new customers. These steps turn a brand-new account into an active server with control panel access in under five minutes.
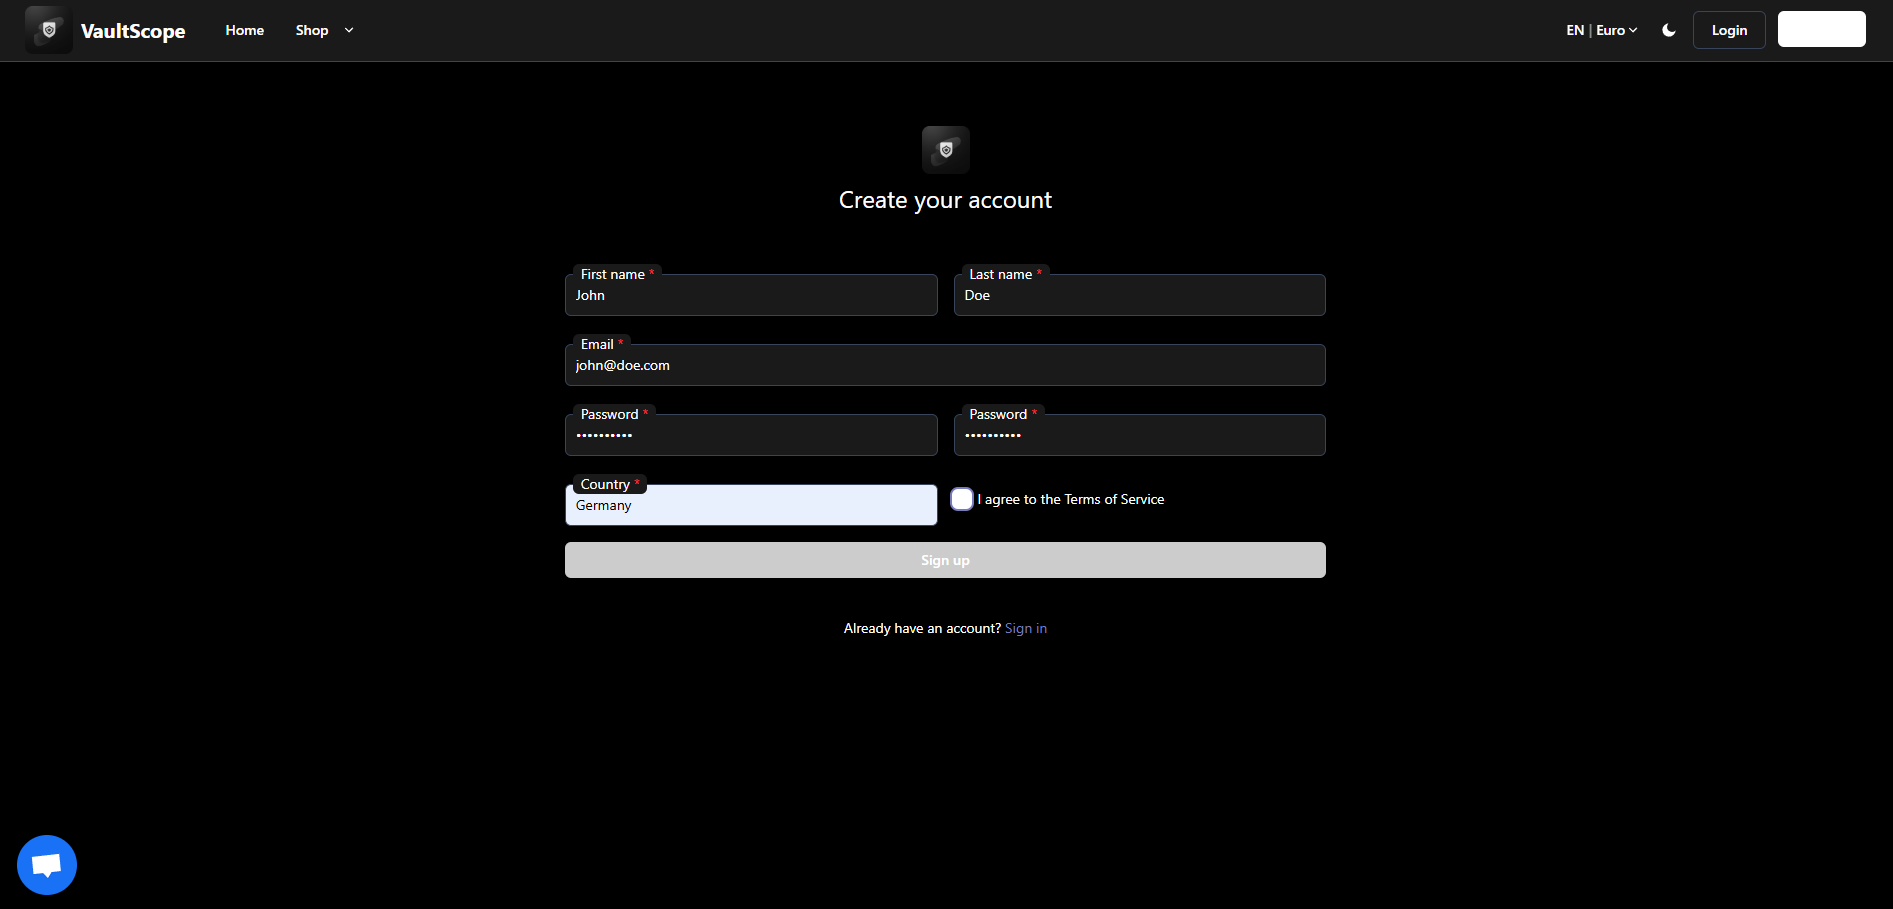
1. Create your billing profile
Visit pay.vaultscope.dev/register and create a billing account. This unlocks the storefront, payment history and automated invoices.
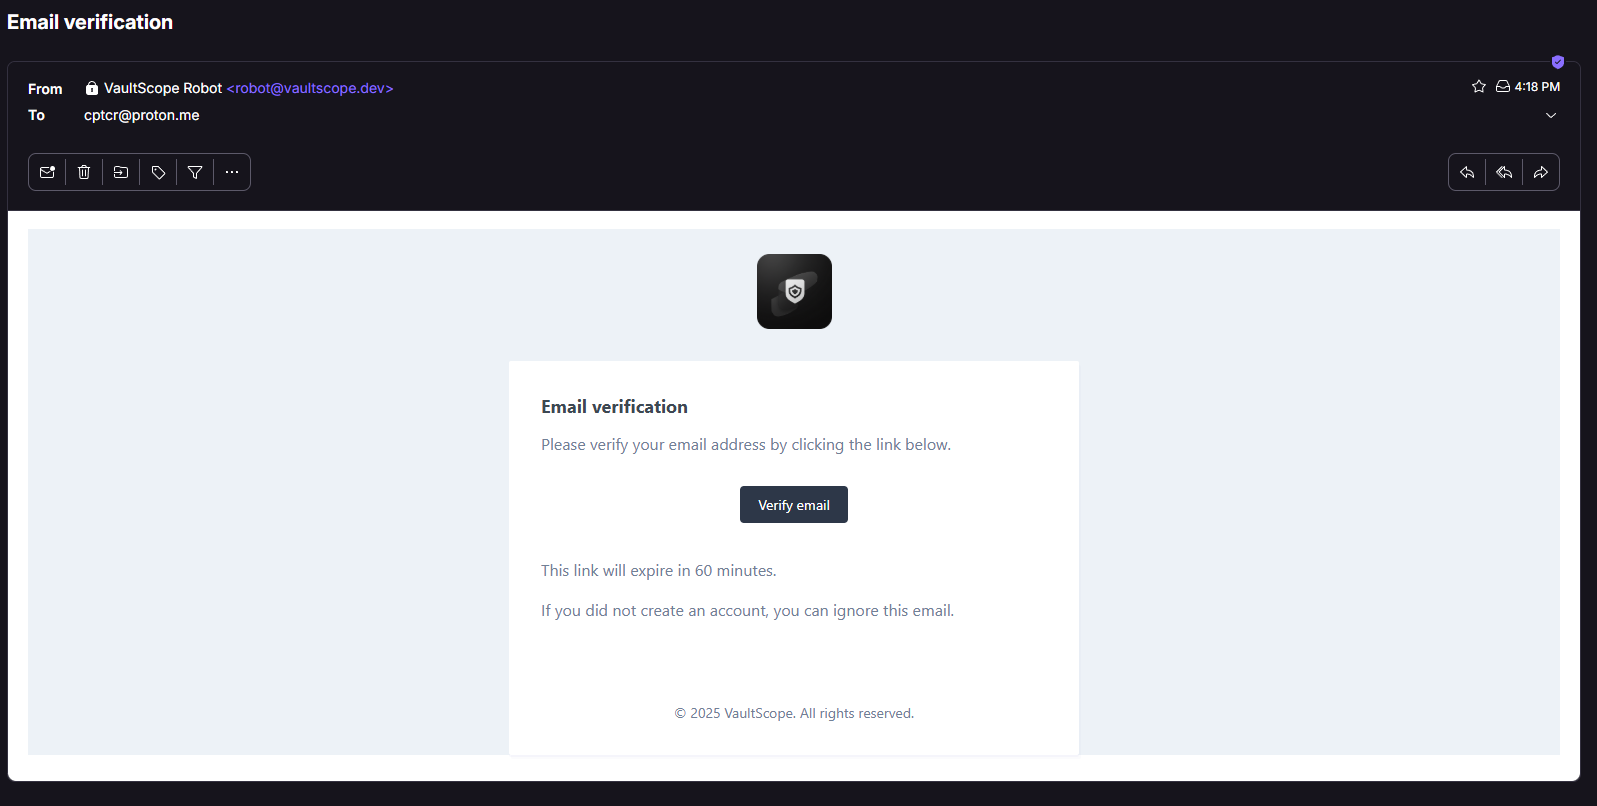
Verification emails are only sent from robot@vaultscope.dev. Add the address to your allowlist if you use aggressive spam filtering.
2. Approve the verification email
Open the verification email in your inbox and click the confirmation link. If the message does not arrive within two minutes, check your spam or updates folder before requesting a resend.
3. Purchase your first server
After verification, sign in to the billing area and choose the game or workload template that matches your project. The storefront walks you through hardware selection and location preferences.
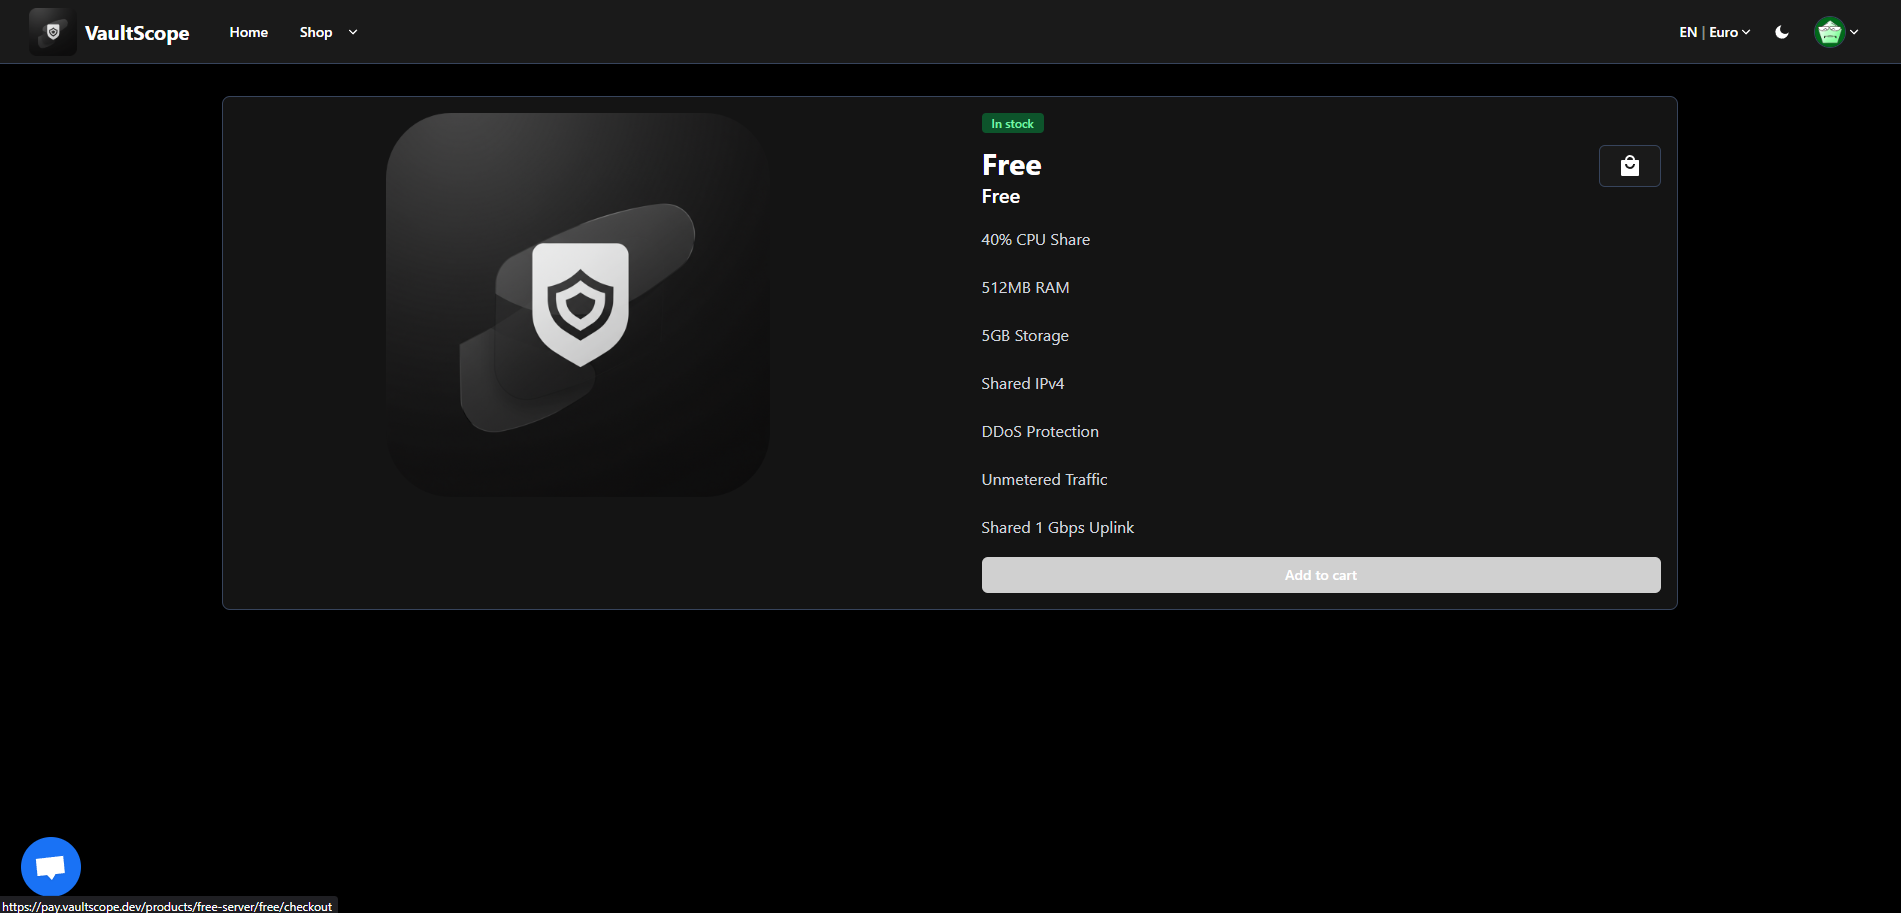
Successful purchases display an on-screen confirmation and immediately queue the server for deployment.
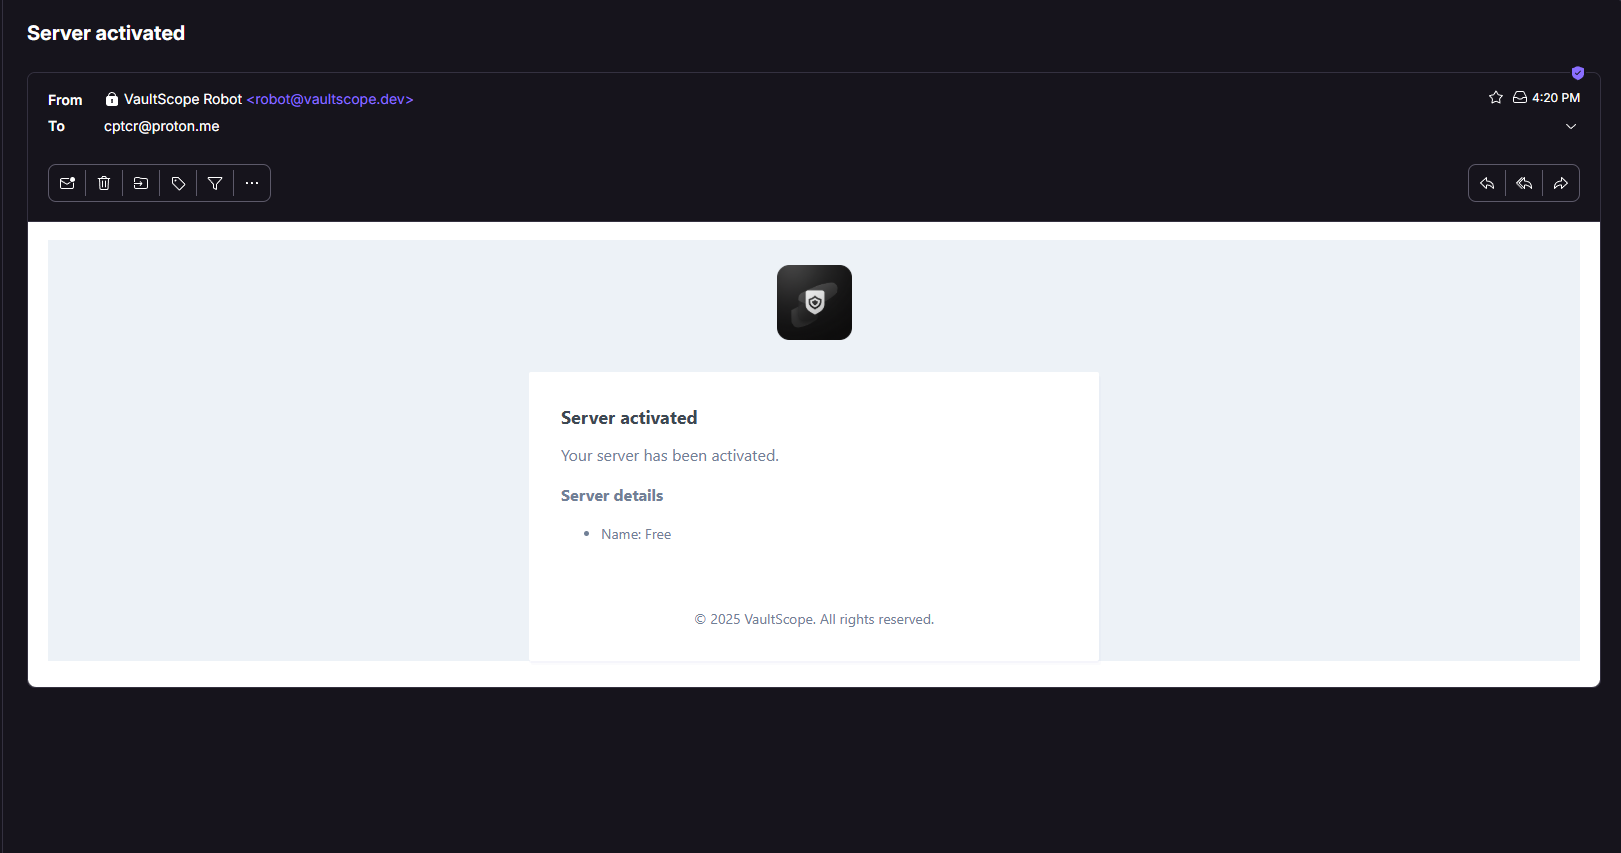
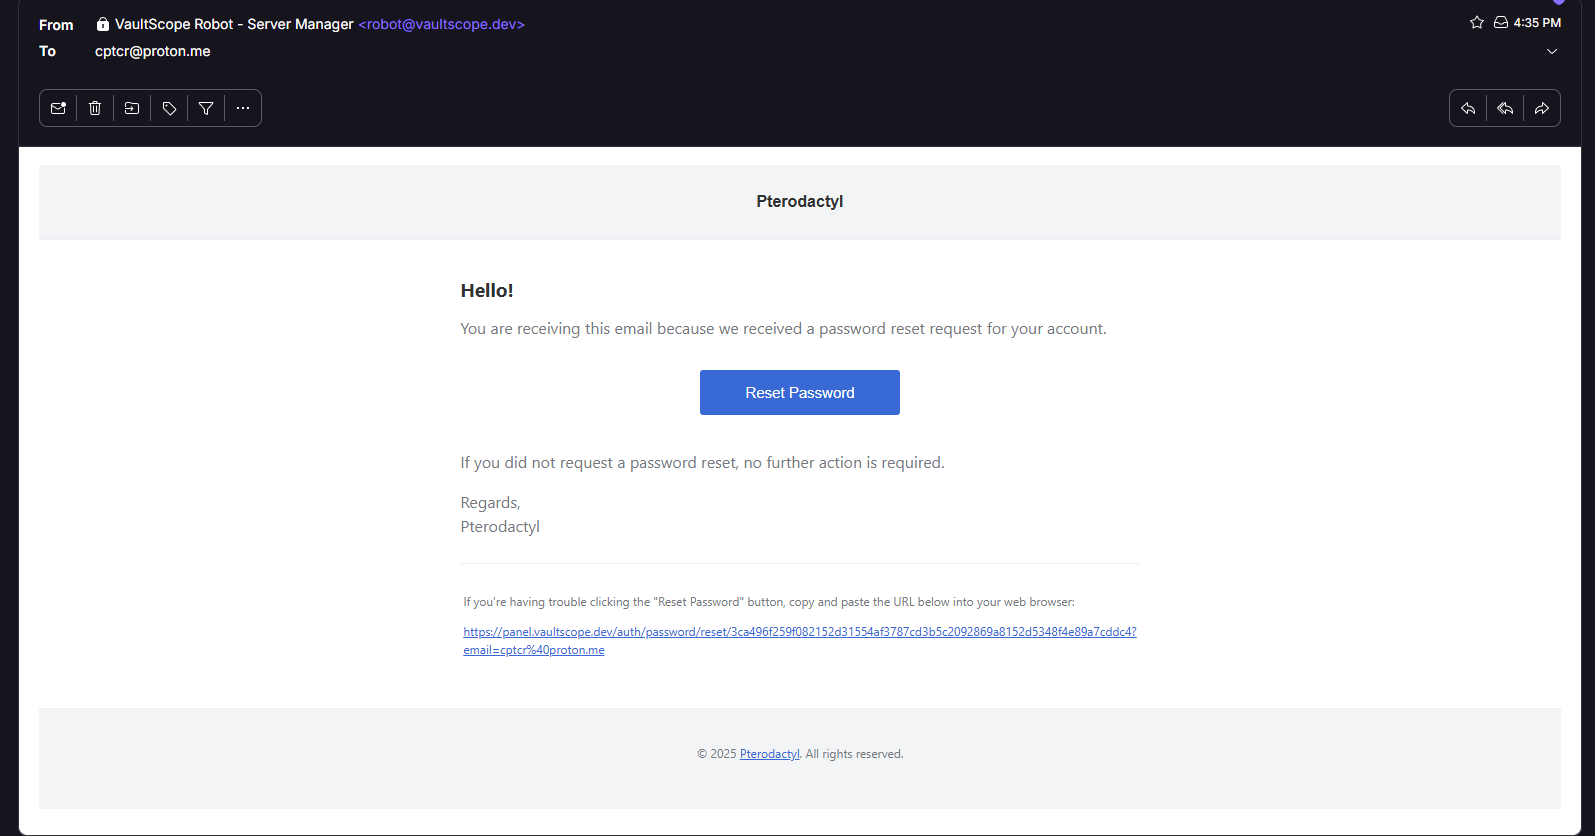
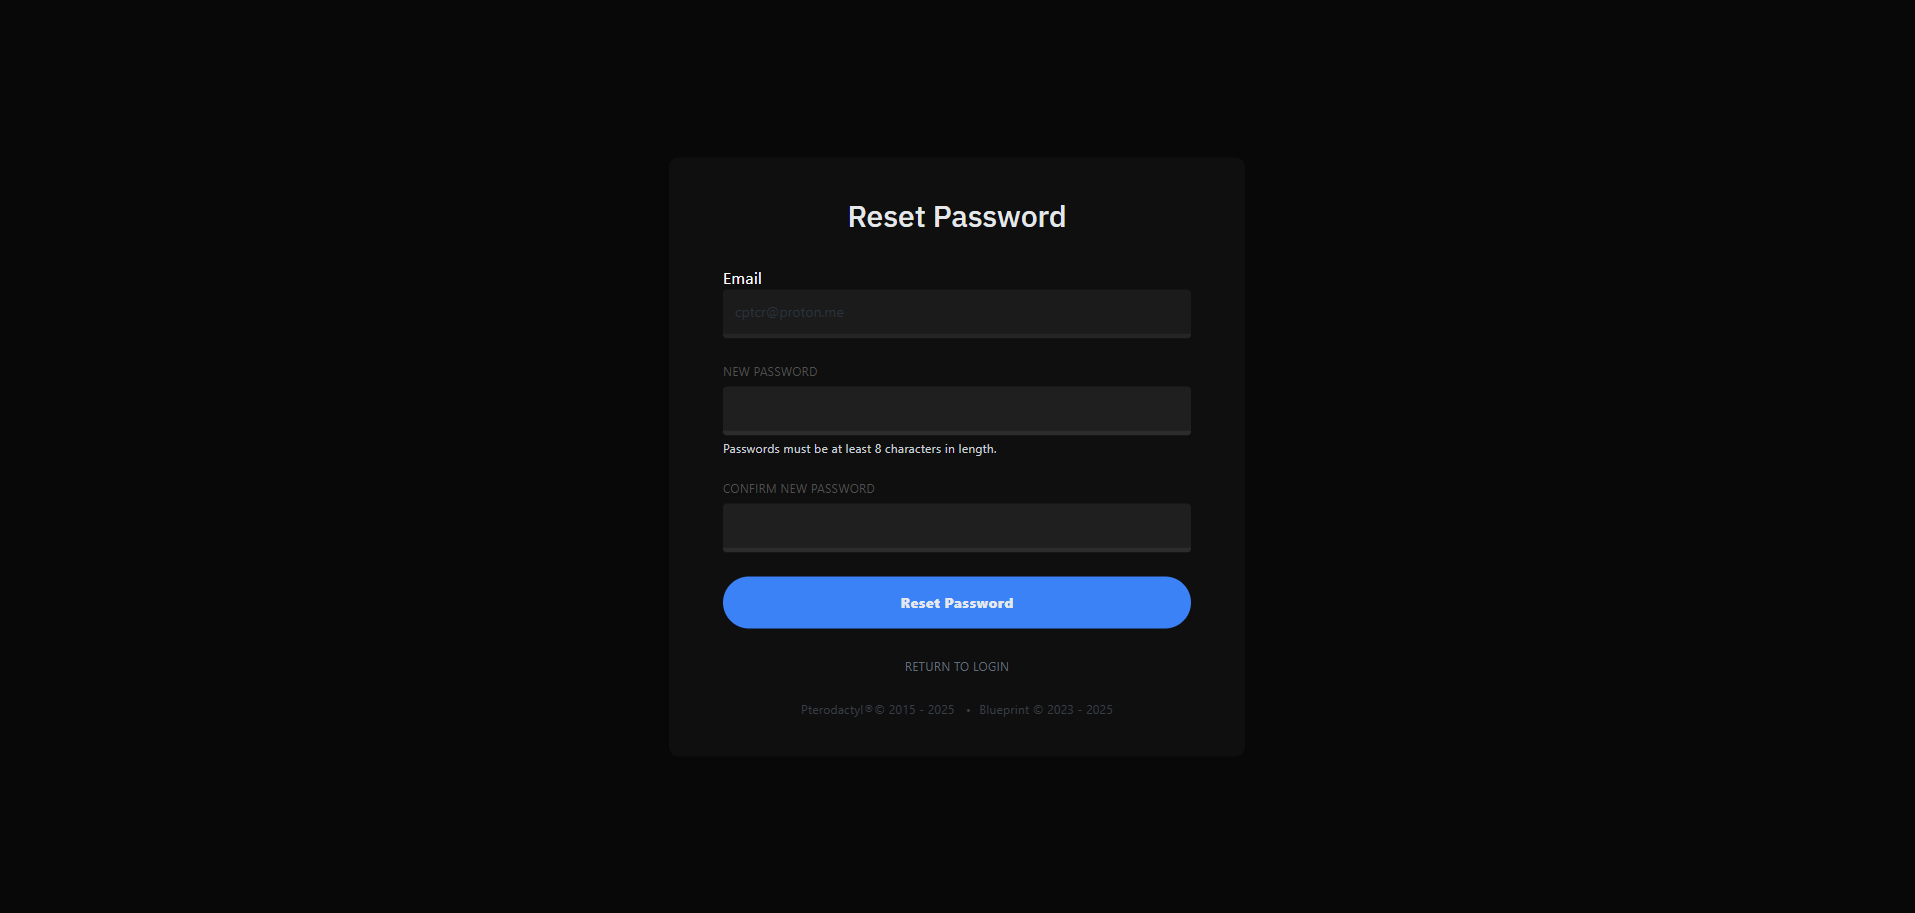
4. Reset the panel password
A password reset email arrives from robot@vaultscope.dev as soon as the server finishes installing. Use it to set a control panel password that is different from your billing credentials.
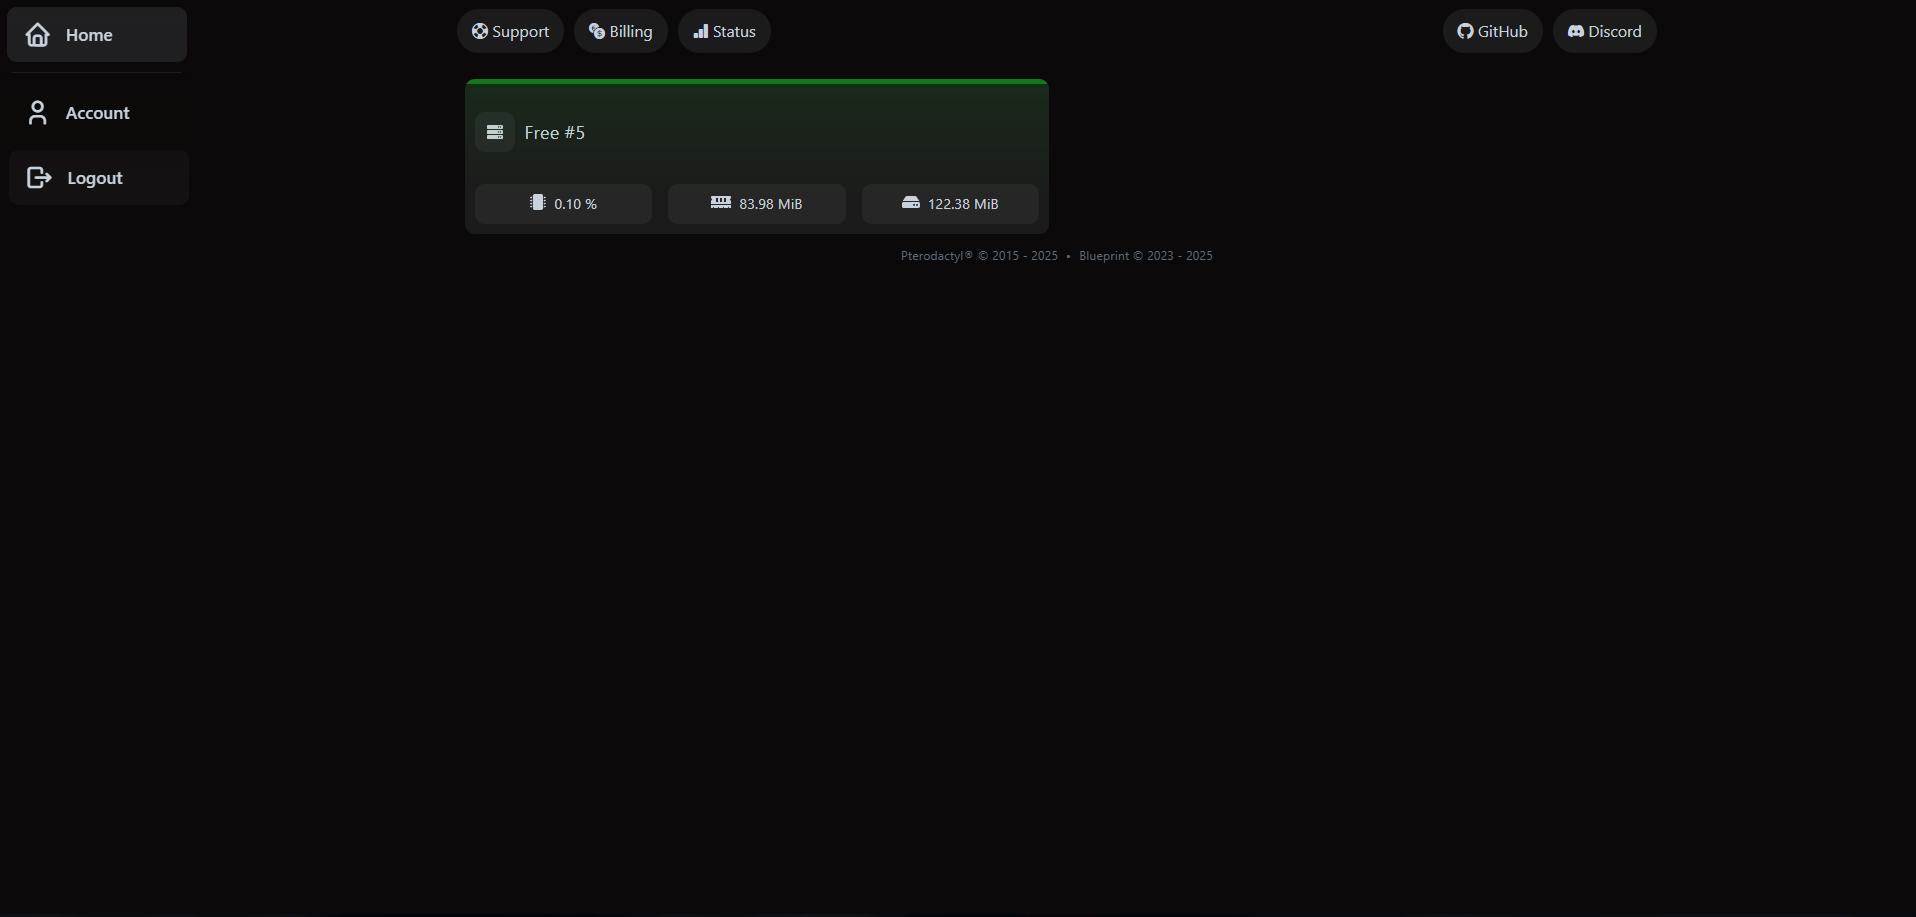
5. Sign in at panel.vaultscope.dev
Head to panel.vaultscope.dev and log in with the billing email and the password you just created. Your newly provisioned server appears on the dashboard with live status and resource usage.
Next up
- Configure automatic backups by following the control panel guide.
- Invite teammates or managers with scoped access through the server management walkthrough.
- Enable two-factor authentication from the account security doc to keep your login safe.