Operations cockpit
Master the VaultScope control panel
Every server shares the same interface. Learn how to navigate the sidebar, automate maintenance and expose your workloads safely.
1. Orient yourself
- Tabs run down the left rail: Console, Files, Schedules, Users, Backups, Network and Settings.
- The top bar holds quick actions for power control and displays live resource usage.
- Use the Activity drawer in the top-right to see recent actions, logins and automated jobs performed by panel users.
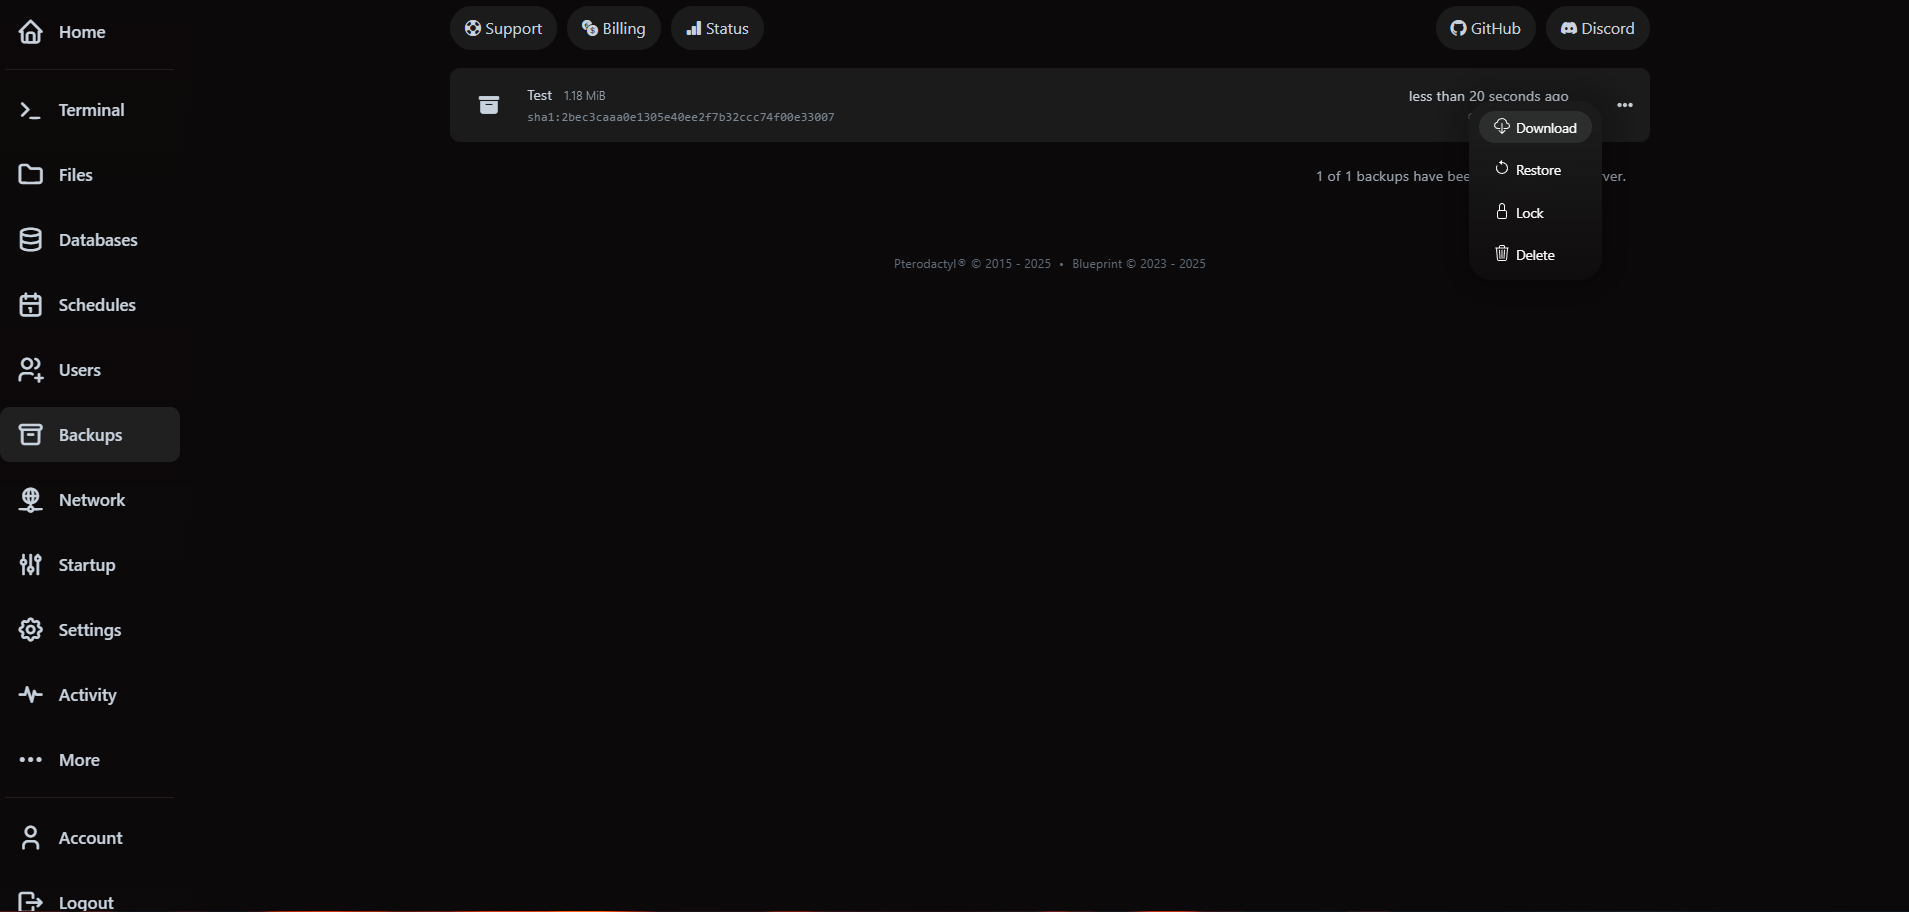
2. Manage backups and restores
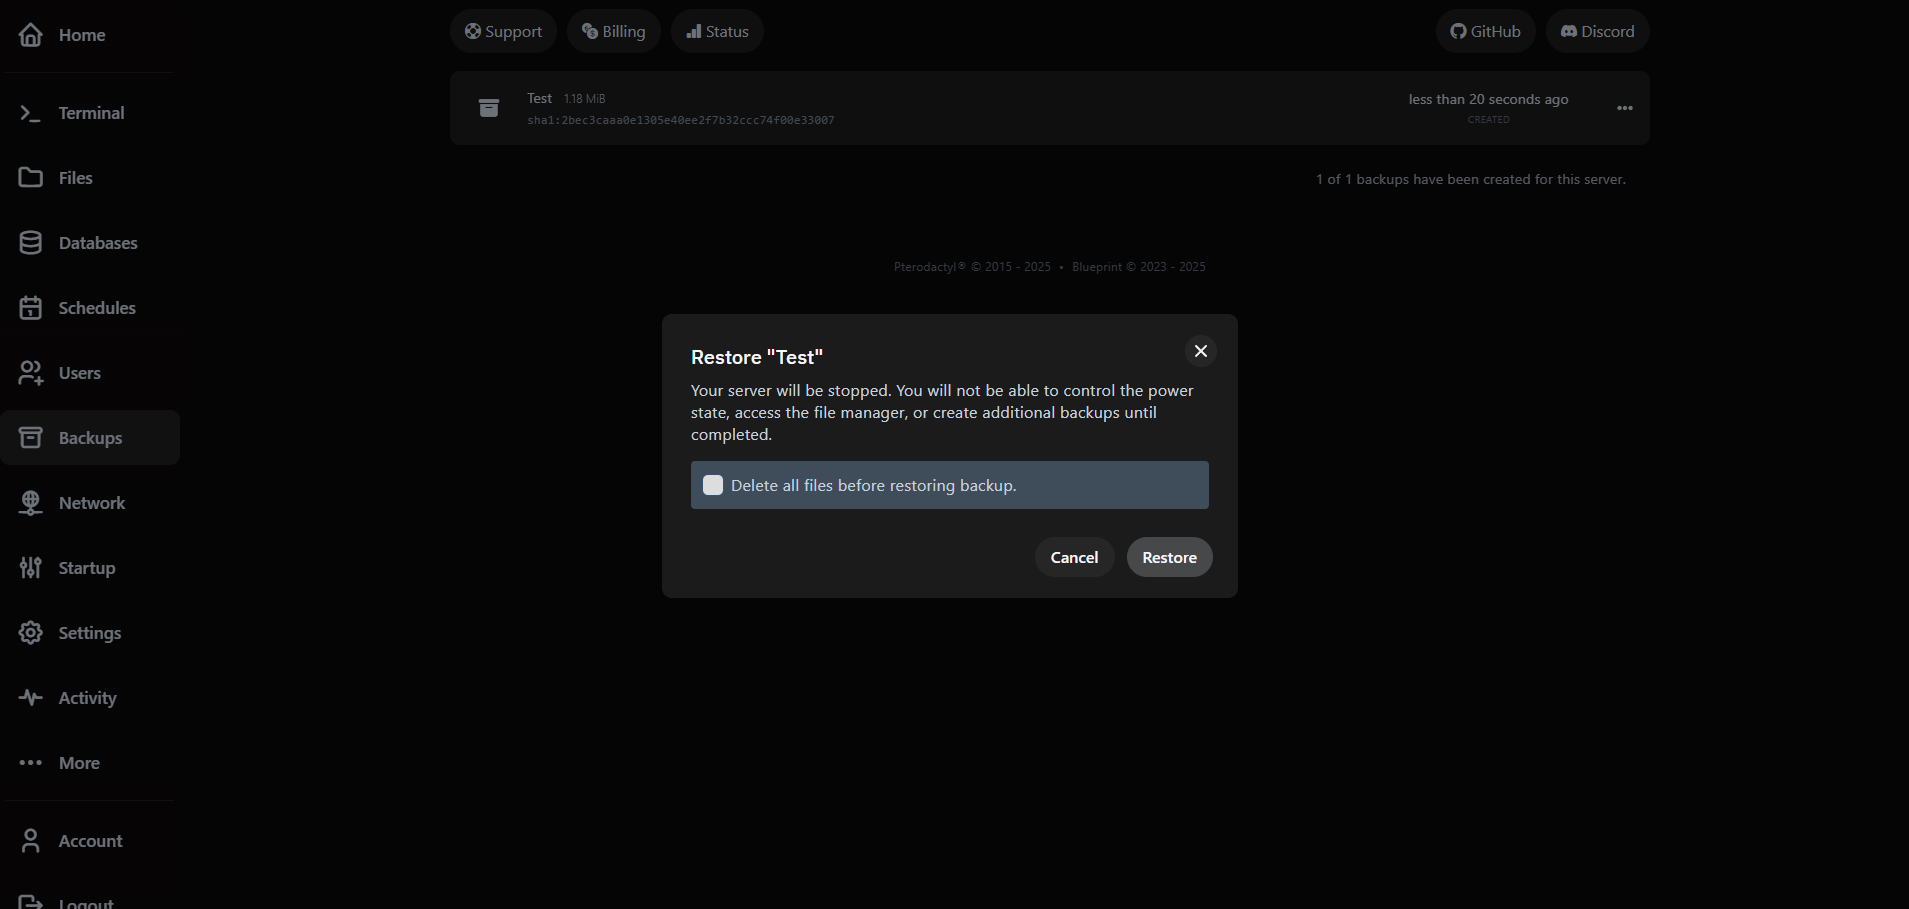
VaultScope stores manual and automatic backups in the cloud region nearest the server. Use the Backups tab to create, download or restore snapshots.
Restoring does not overwrite the latest files immediately—we create a new archive of current data before rolling back so you can recover if needed.
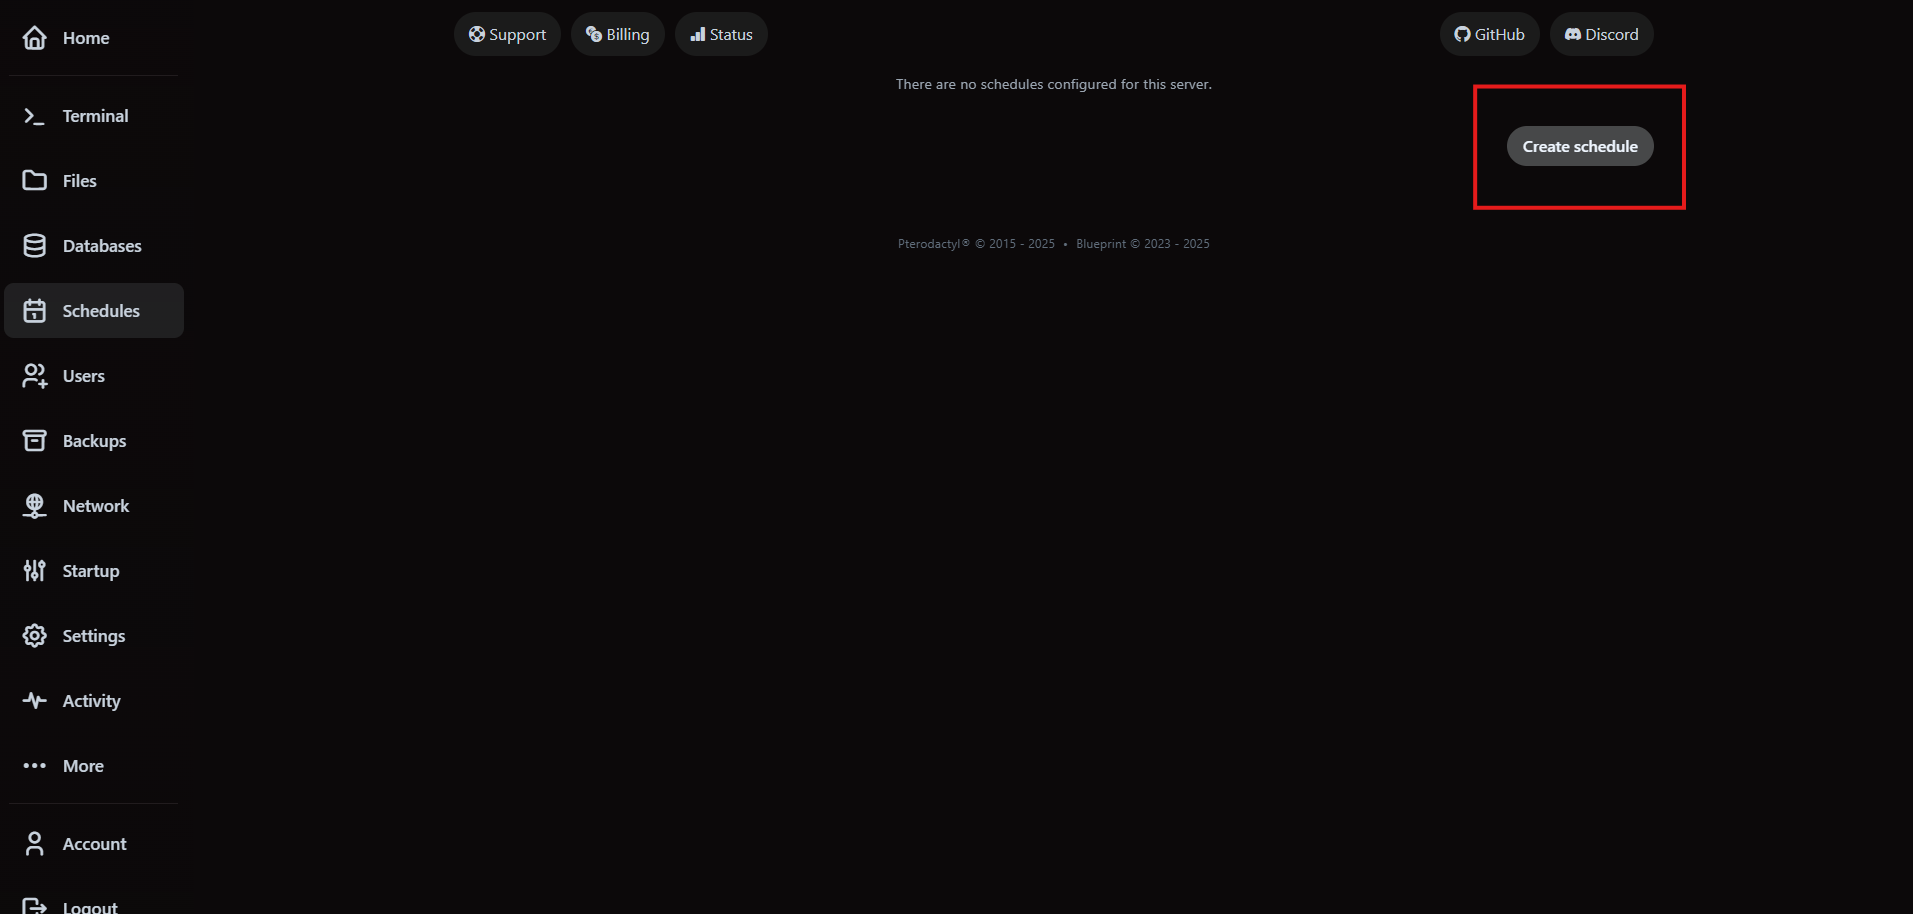
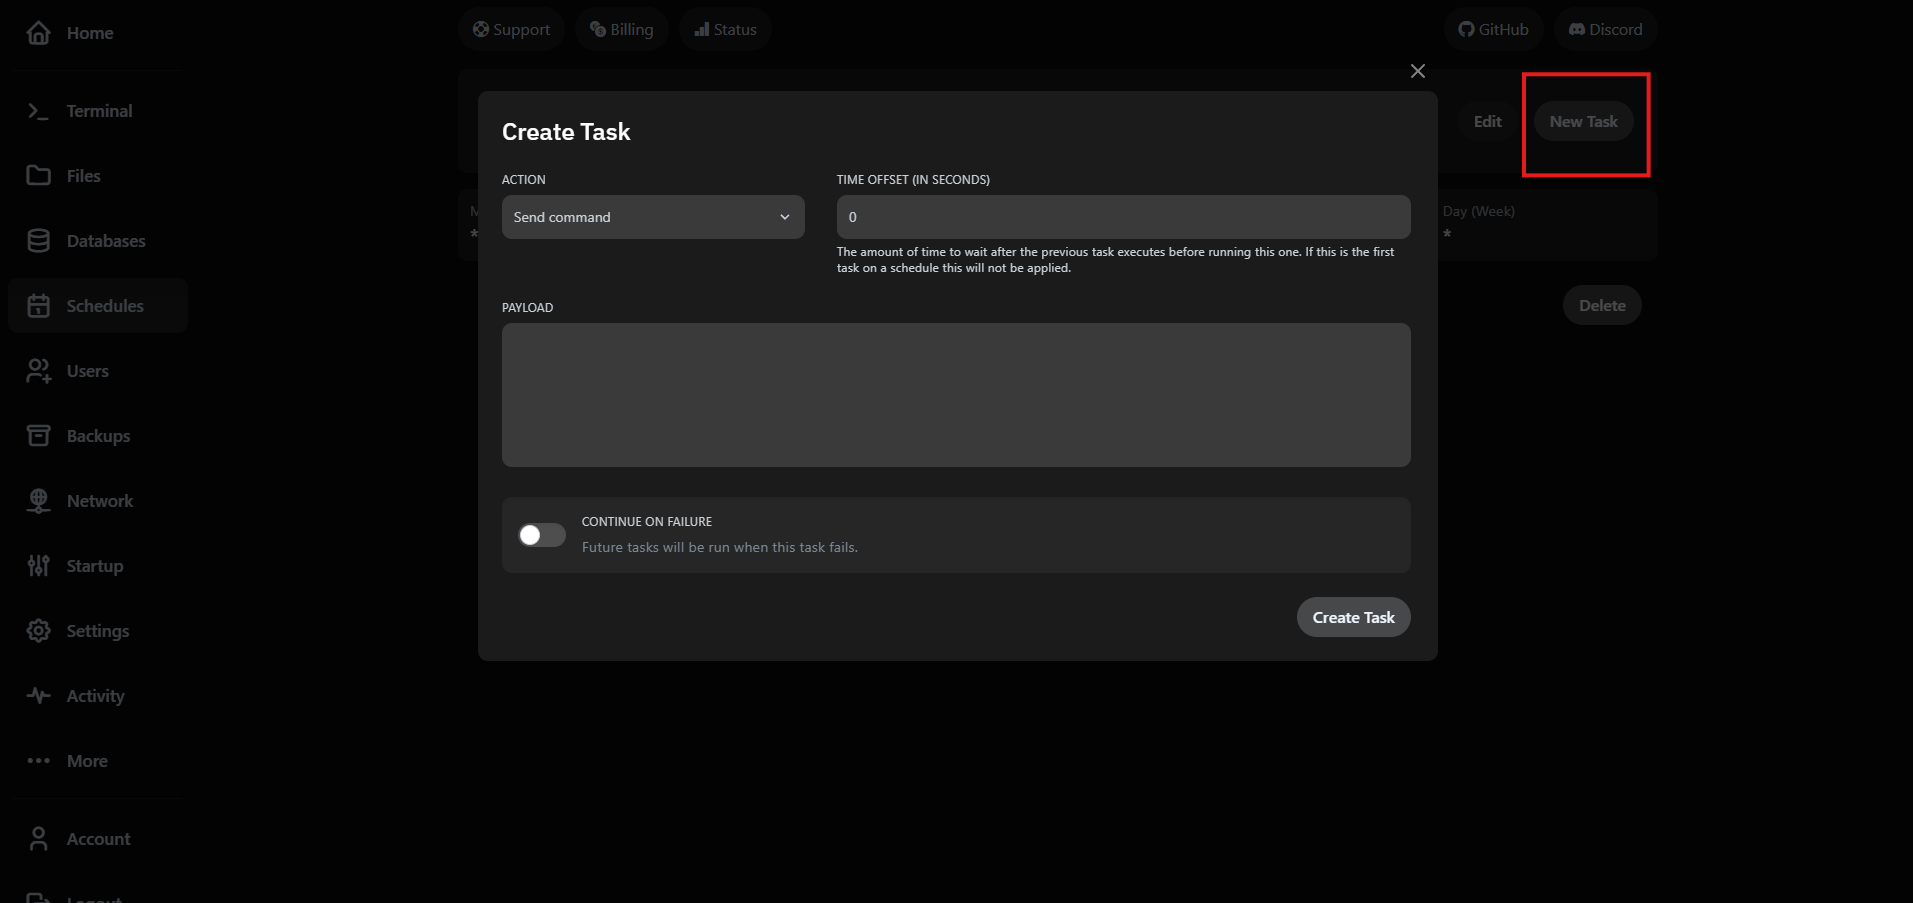
3. Automate maintenance with schedules
Schedules run commands, backups or power actions on a timer. Navigate to Schedules and click Create Schedule.
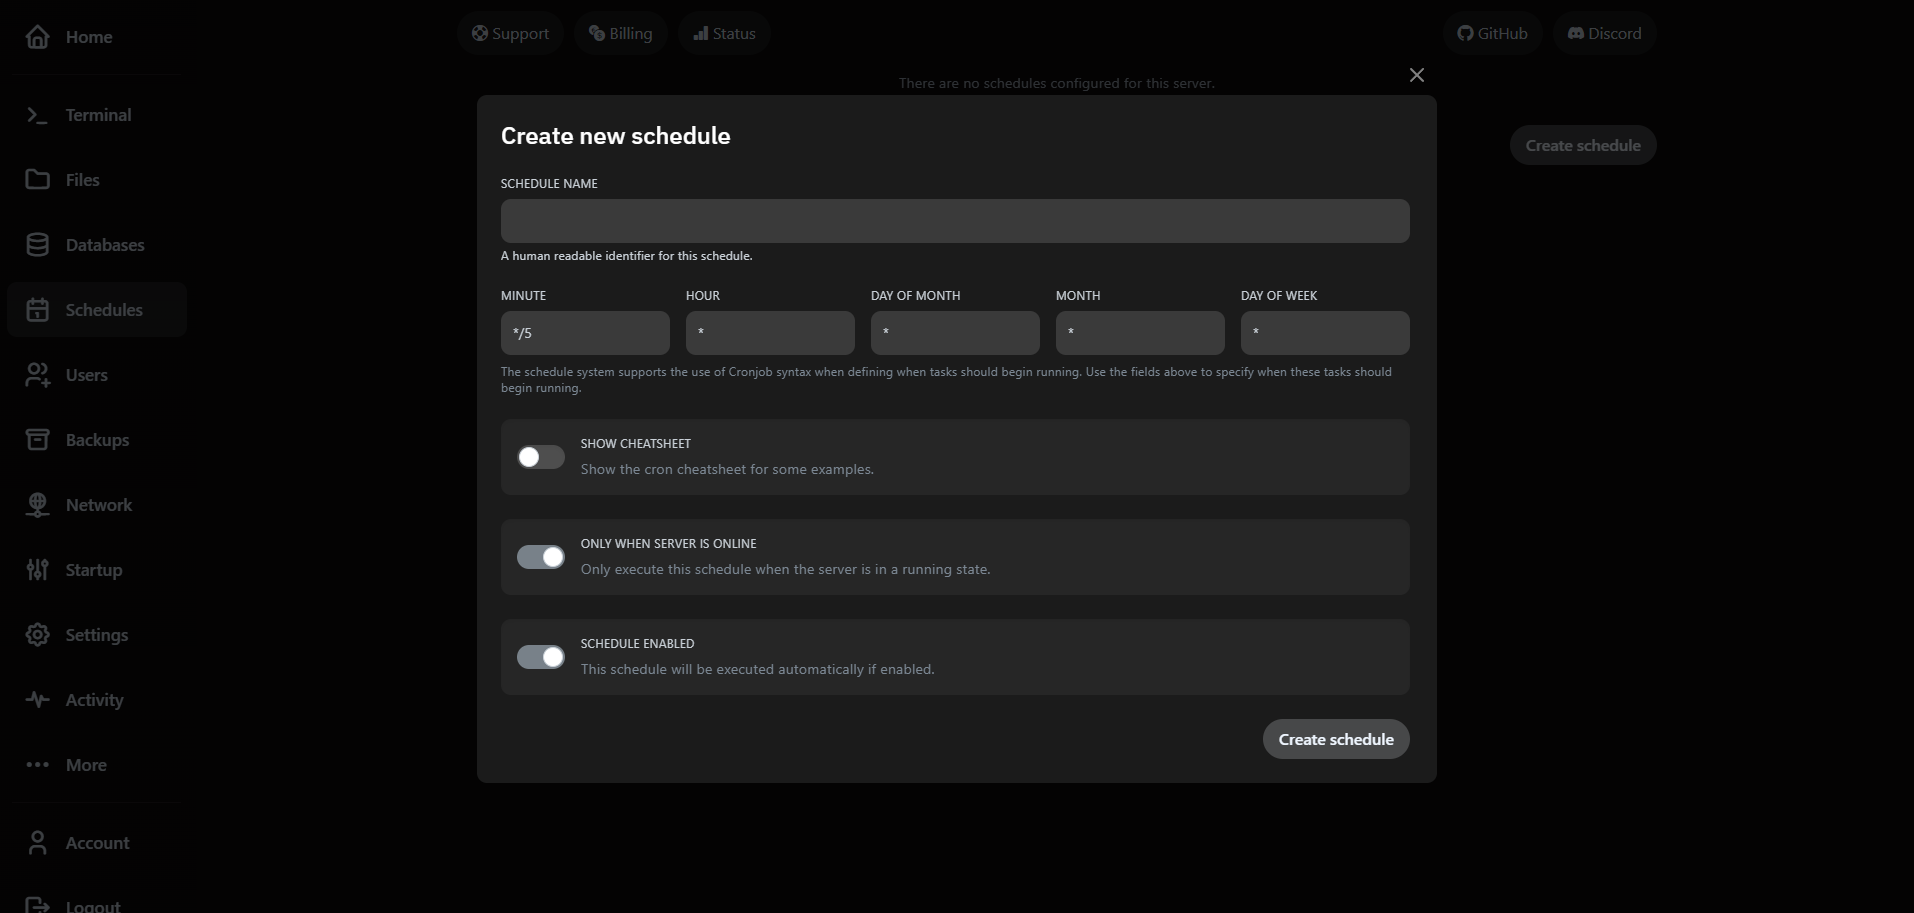
Add tasks to the schedule to perform specific actions. You can chain multiple tasks in order.
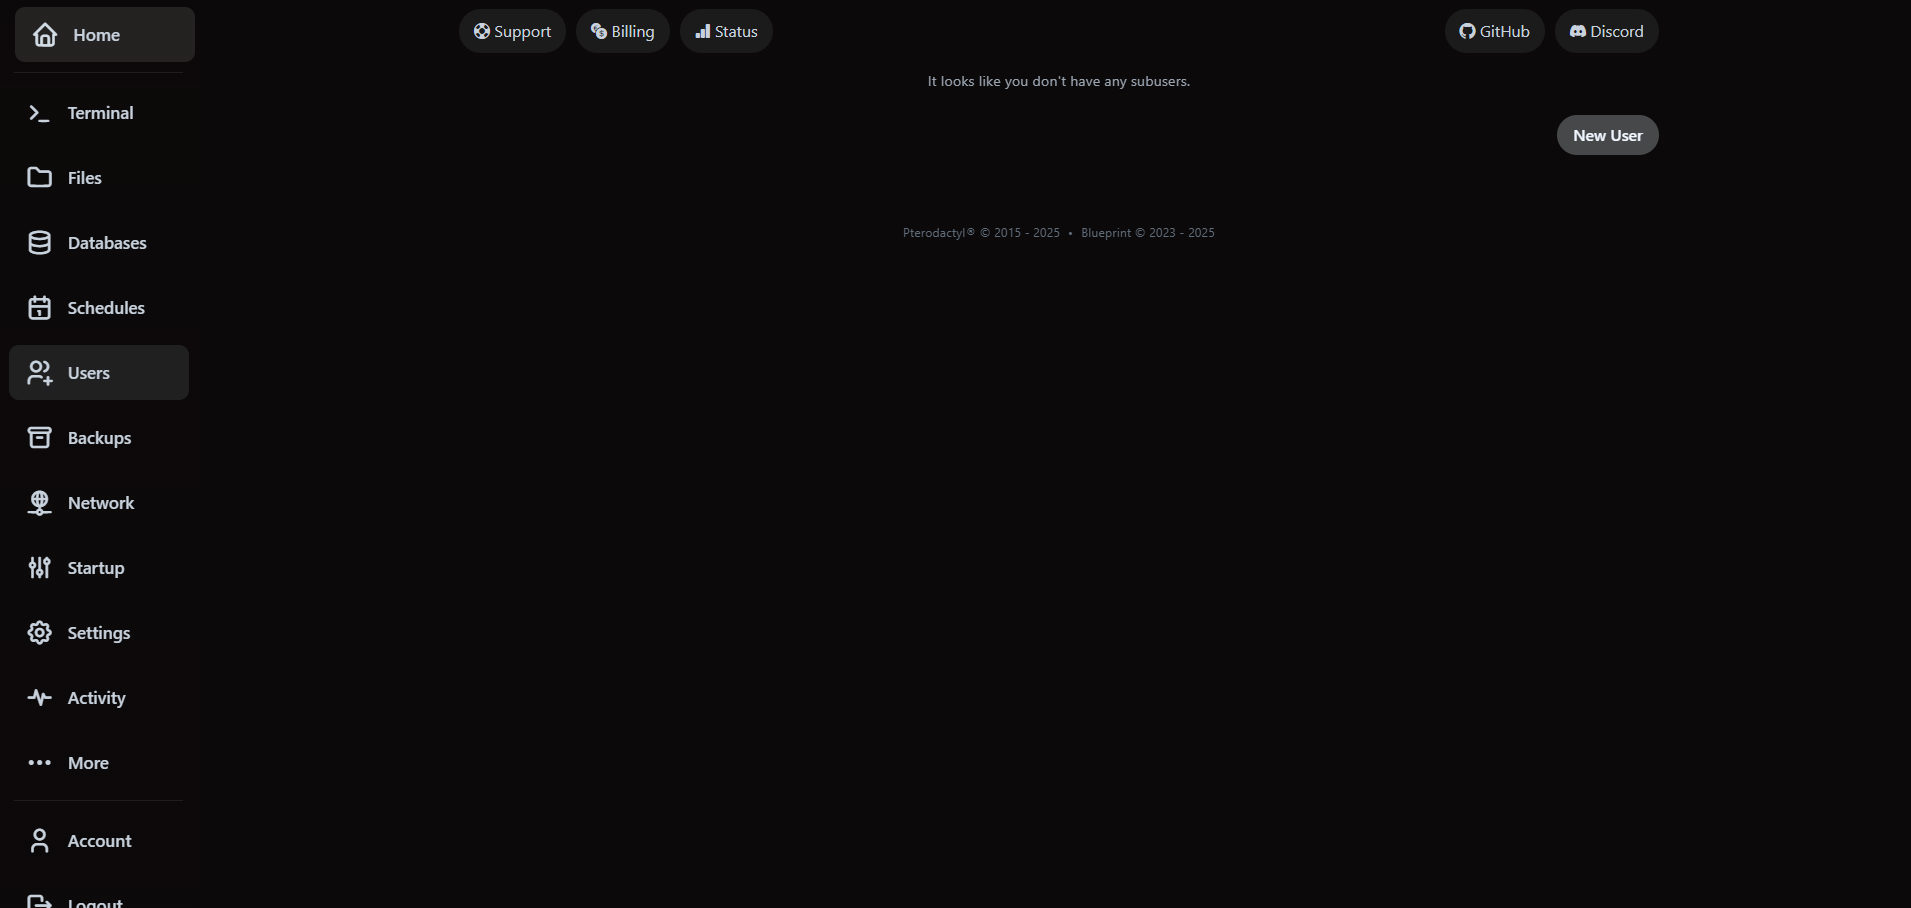
4. Delegate access with user roles
Add teammates under the Users tab. Invites require the collaborator to have an active VaultScope account.
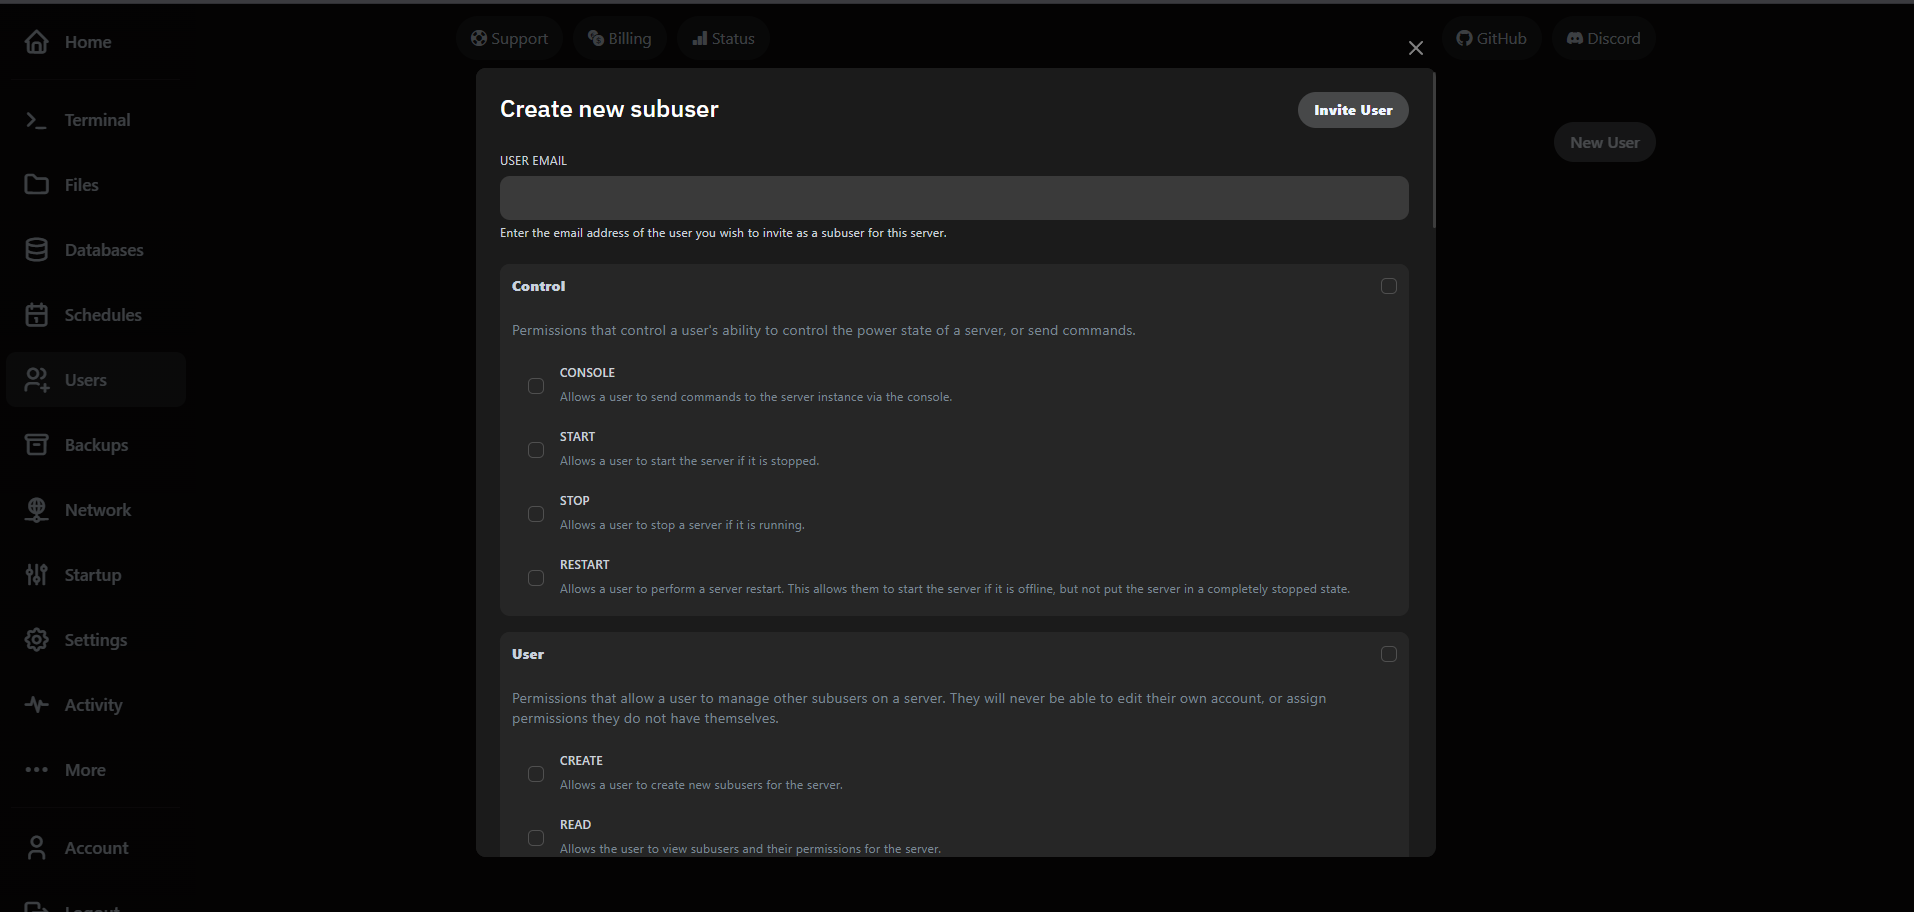
- Keep console access limited to trusted operators—it includes raw command execution.
- Use the SFTP toggle to allow external file management via clients like WinSCP.
- Revoke access instantly by removing the user; changes propagate across nodes immediately.
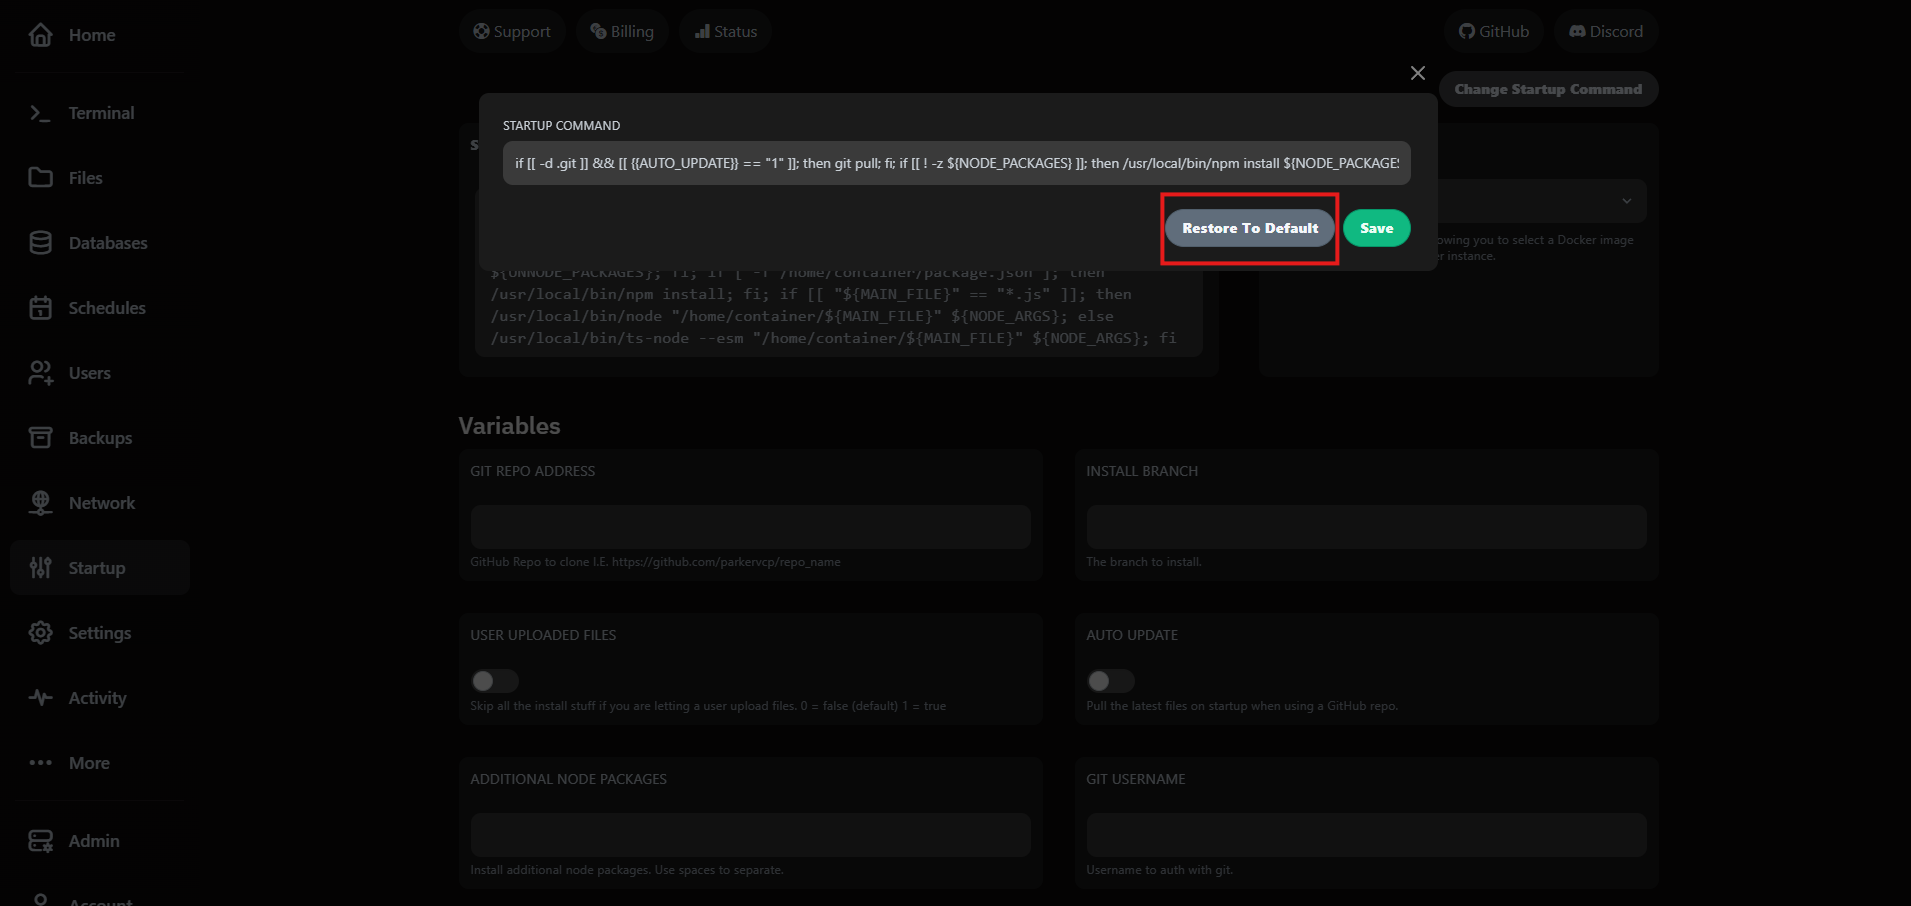
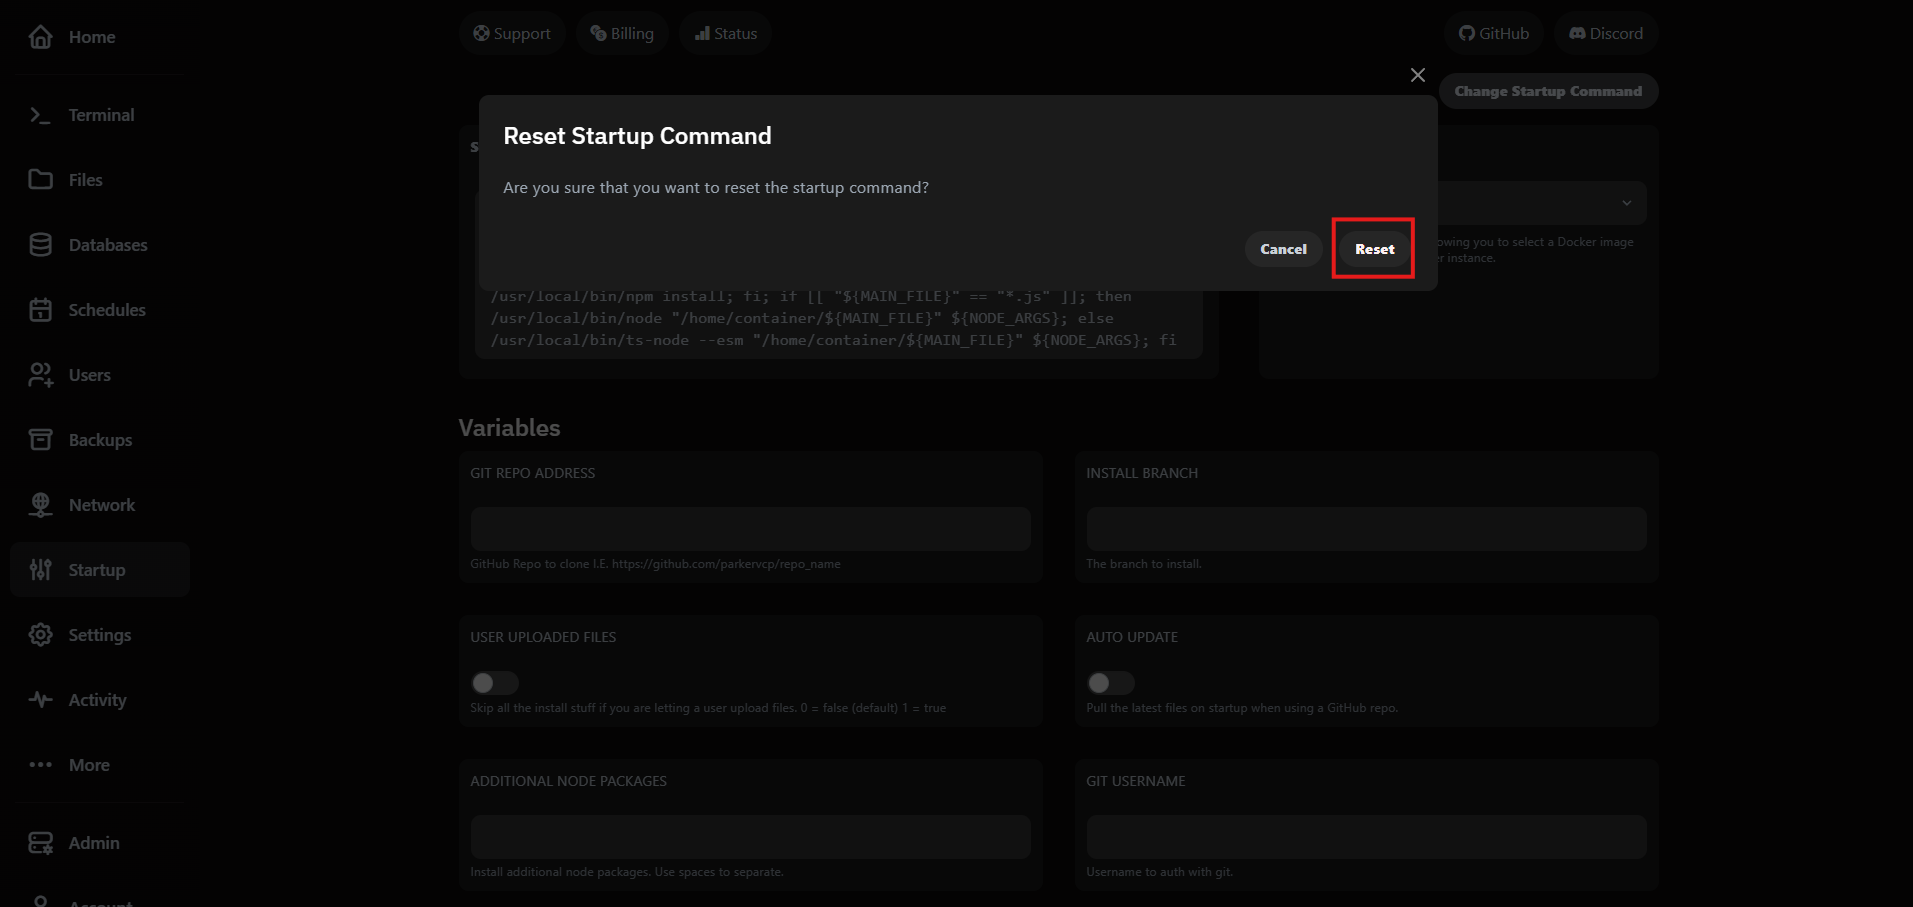
5. Customize startup commands
The Startup tab lets you adjust launch arguments without redeploying files. This is the quickest way to roll out JVM flags, memory switches or plugin bootstrap parameters.
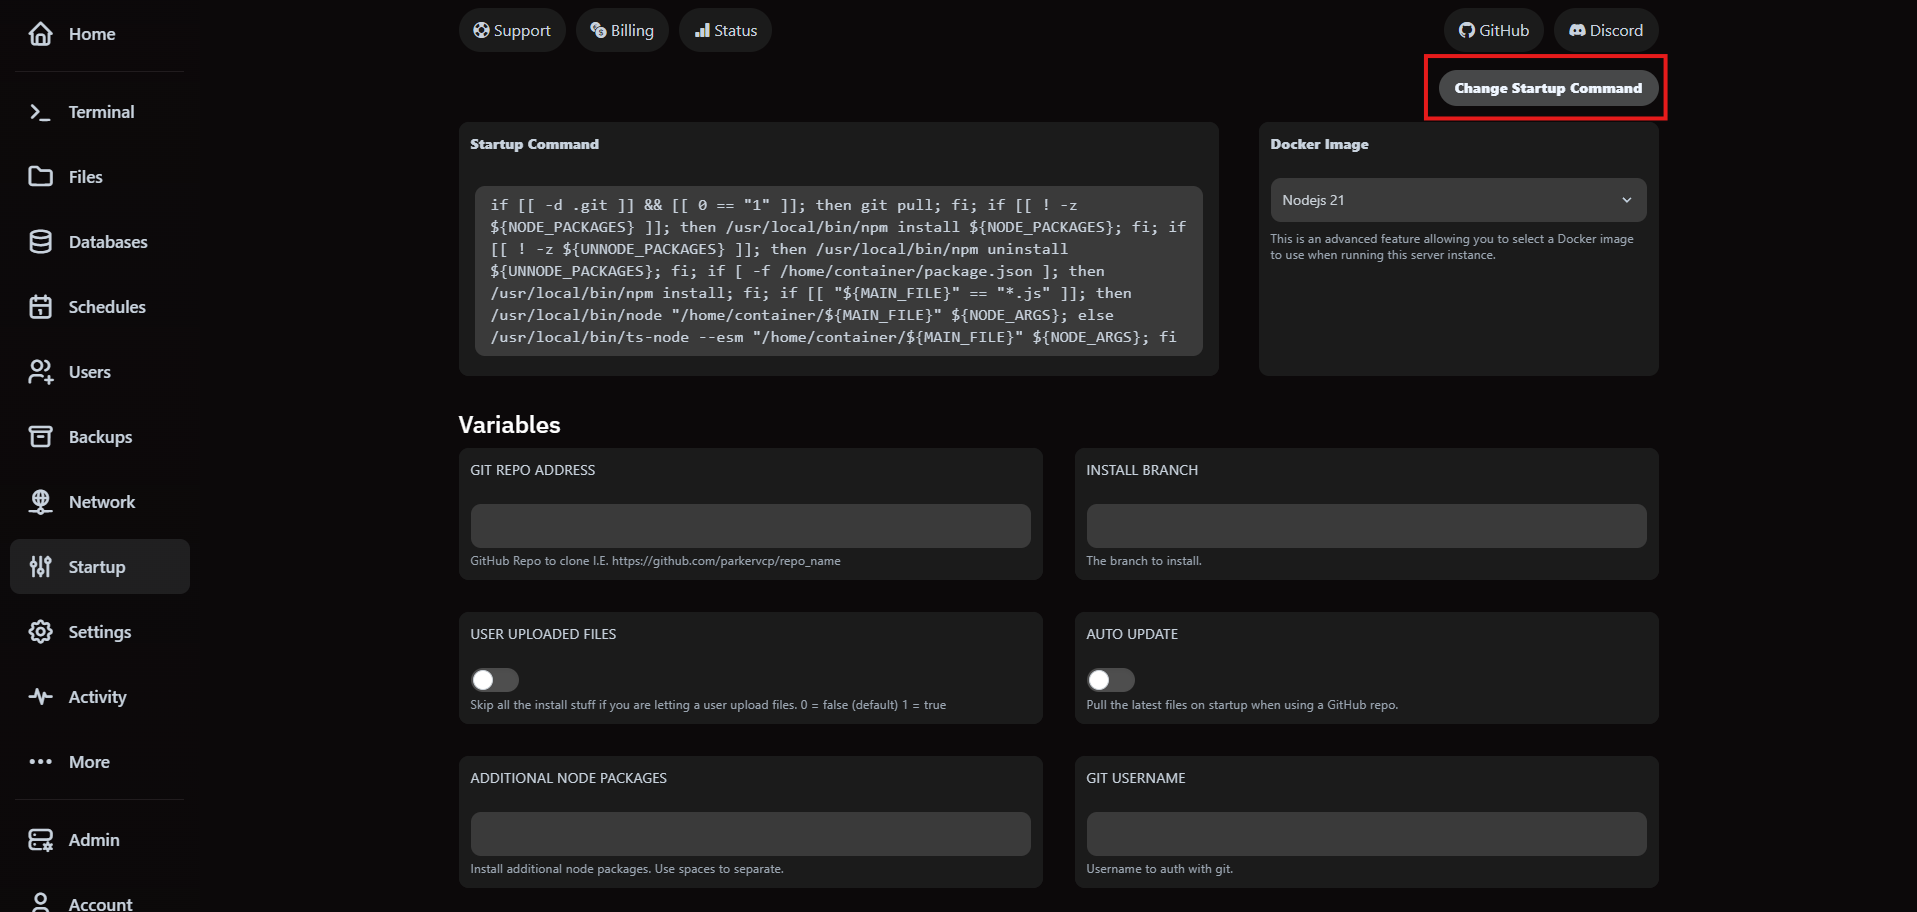
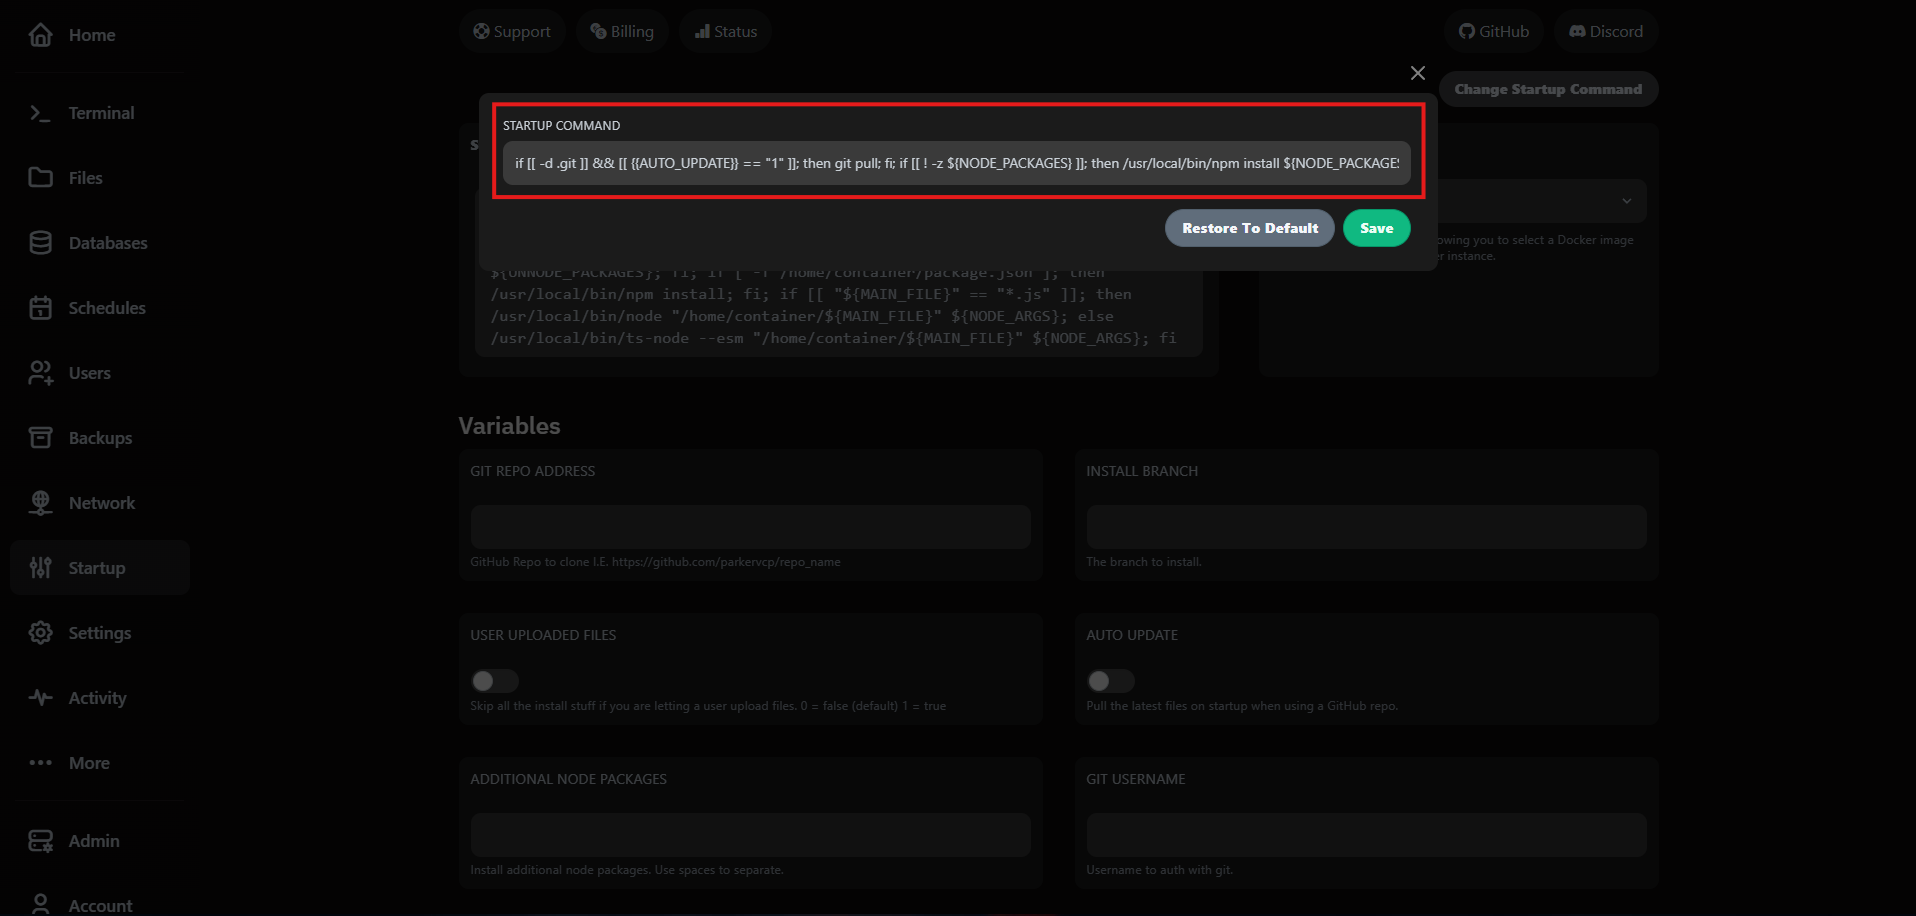
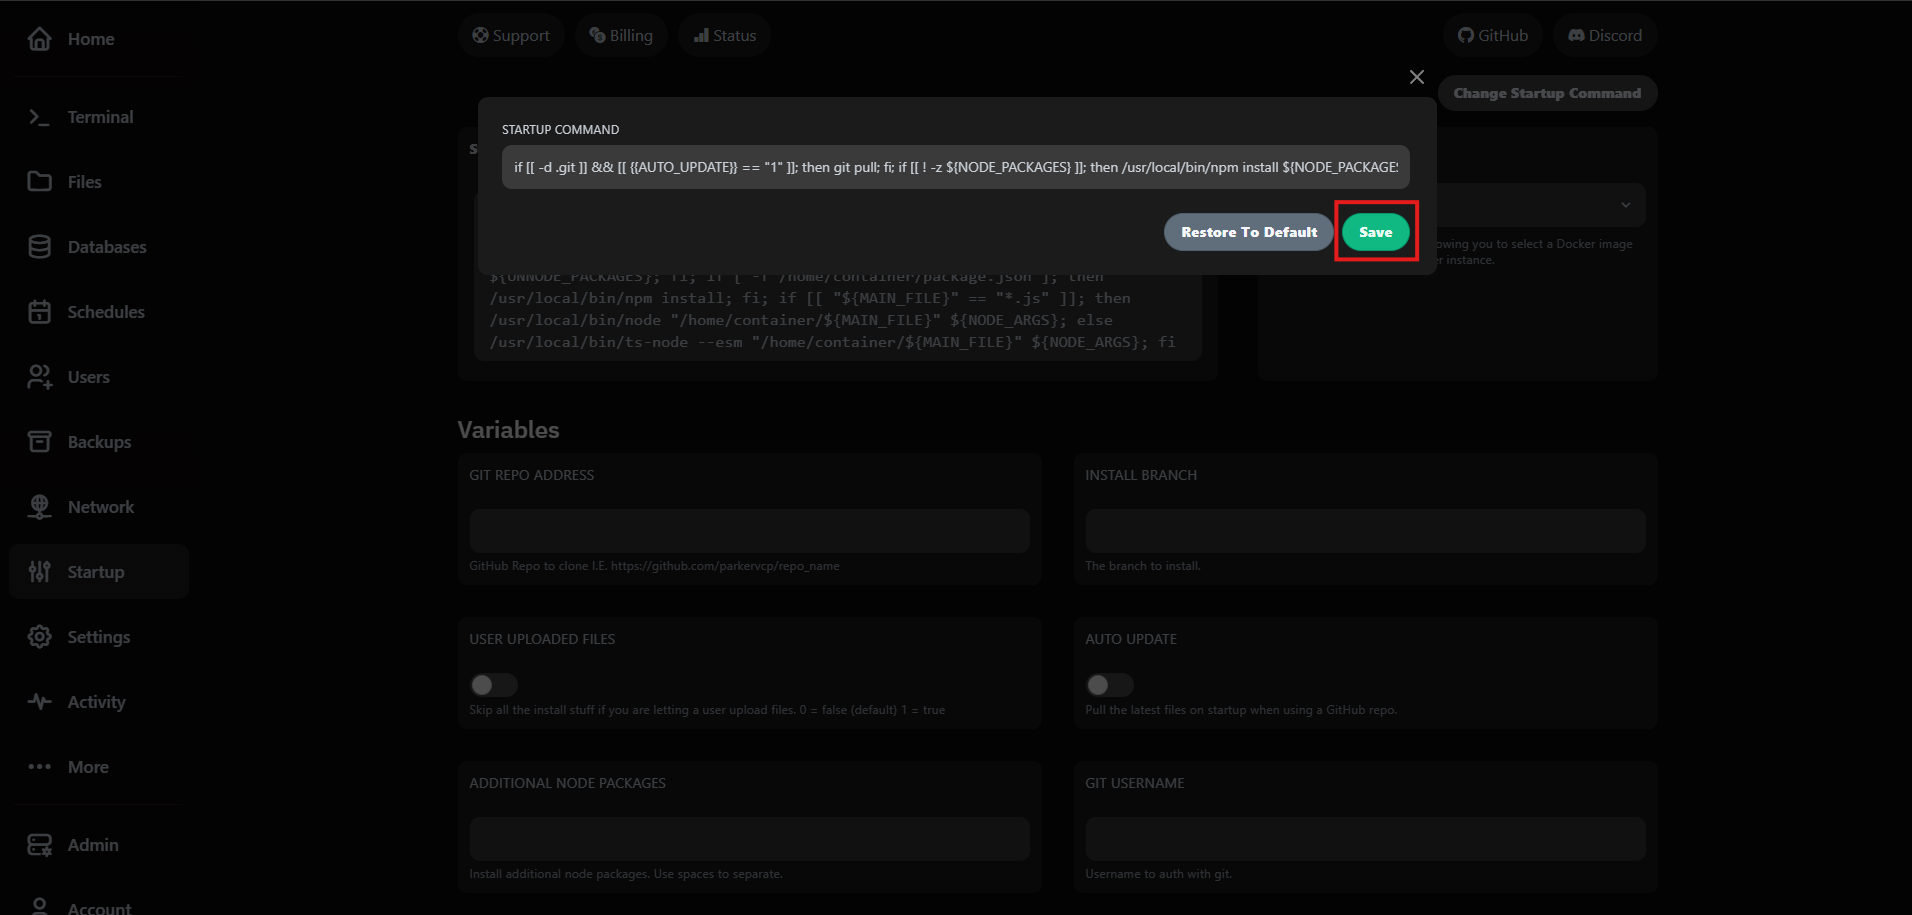
Need to revert? Use Restore to Default to bring back the original command that shipped with your plan. We keep the template versioned so you can experiment safely.
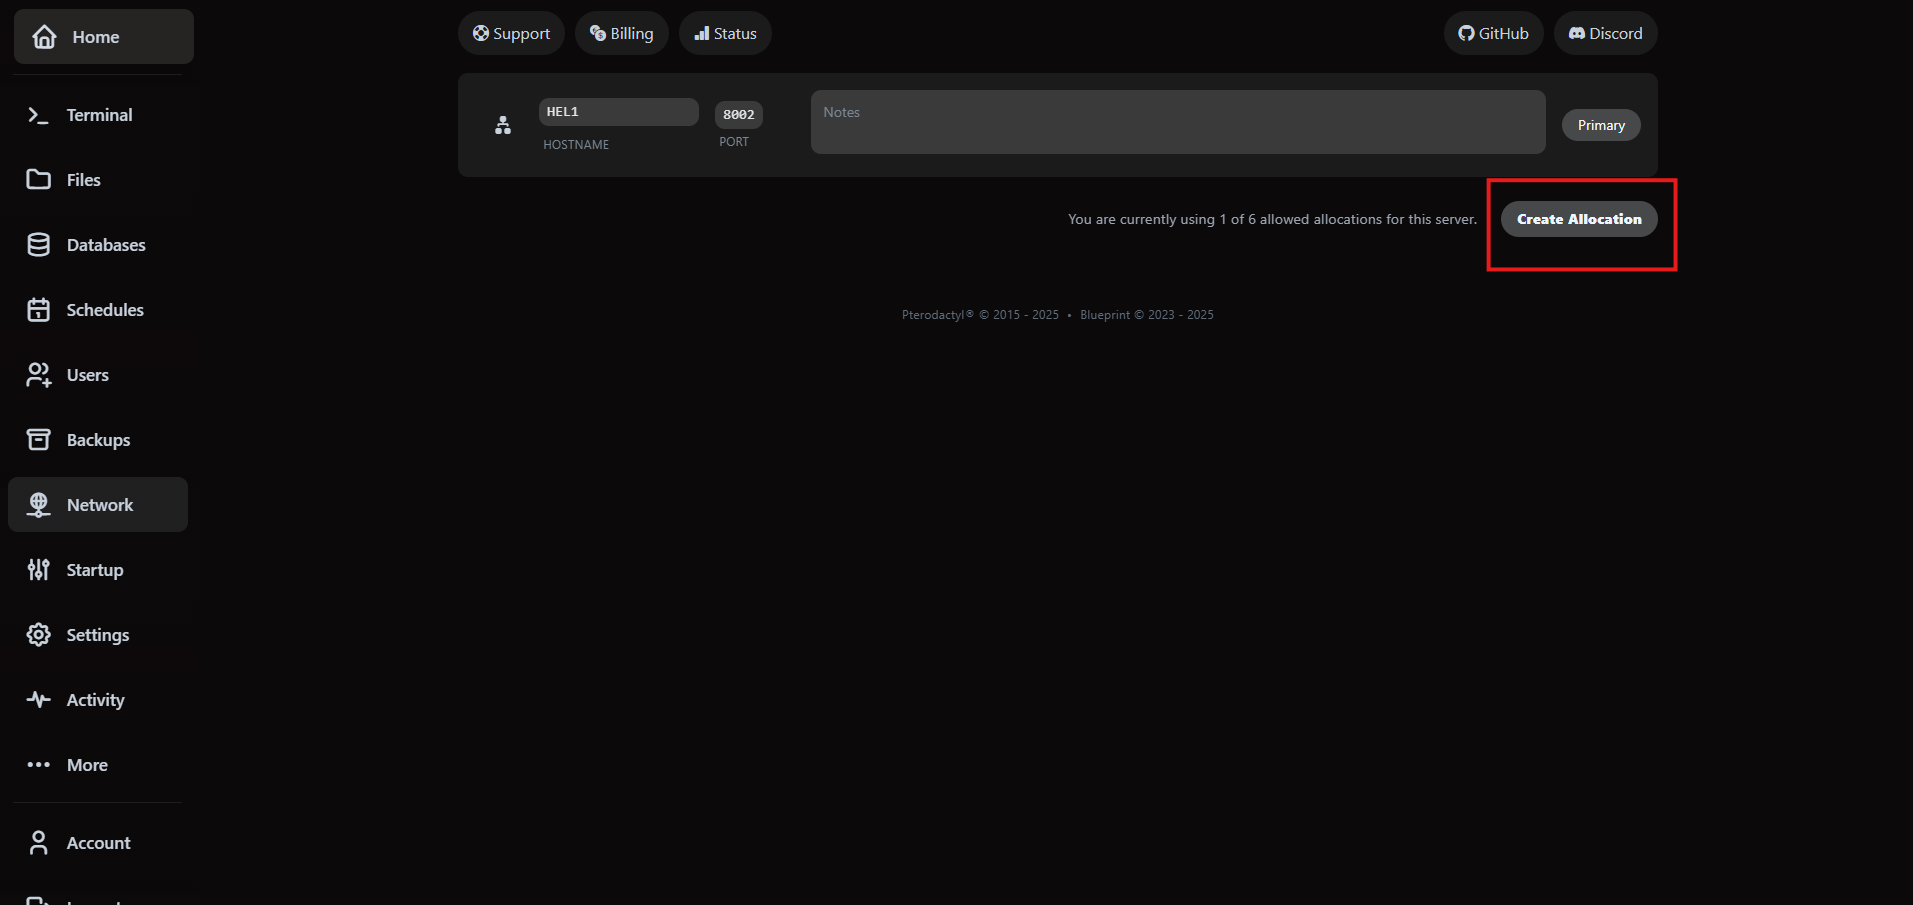
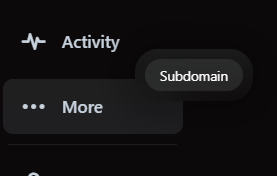
6. Expose services via networking and subdomains
The Network tab manages port allocations while Subdomains maps VaultScope-managed DNS records to those ports. Subdomains provide friendly hostnames under vaultscope.dev or cptcr.devbut they do not provision SSL or replace a full reverse proxy.
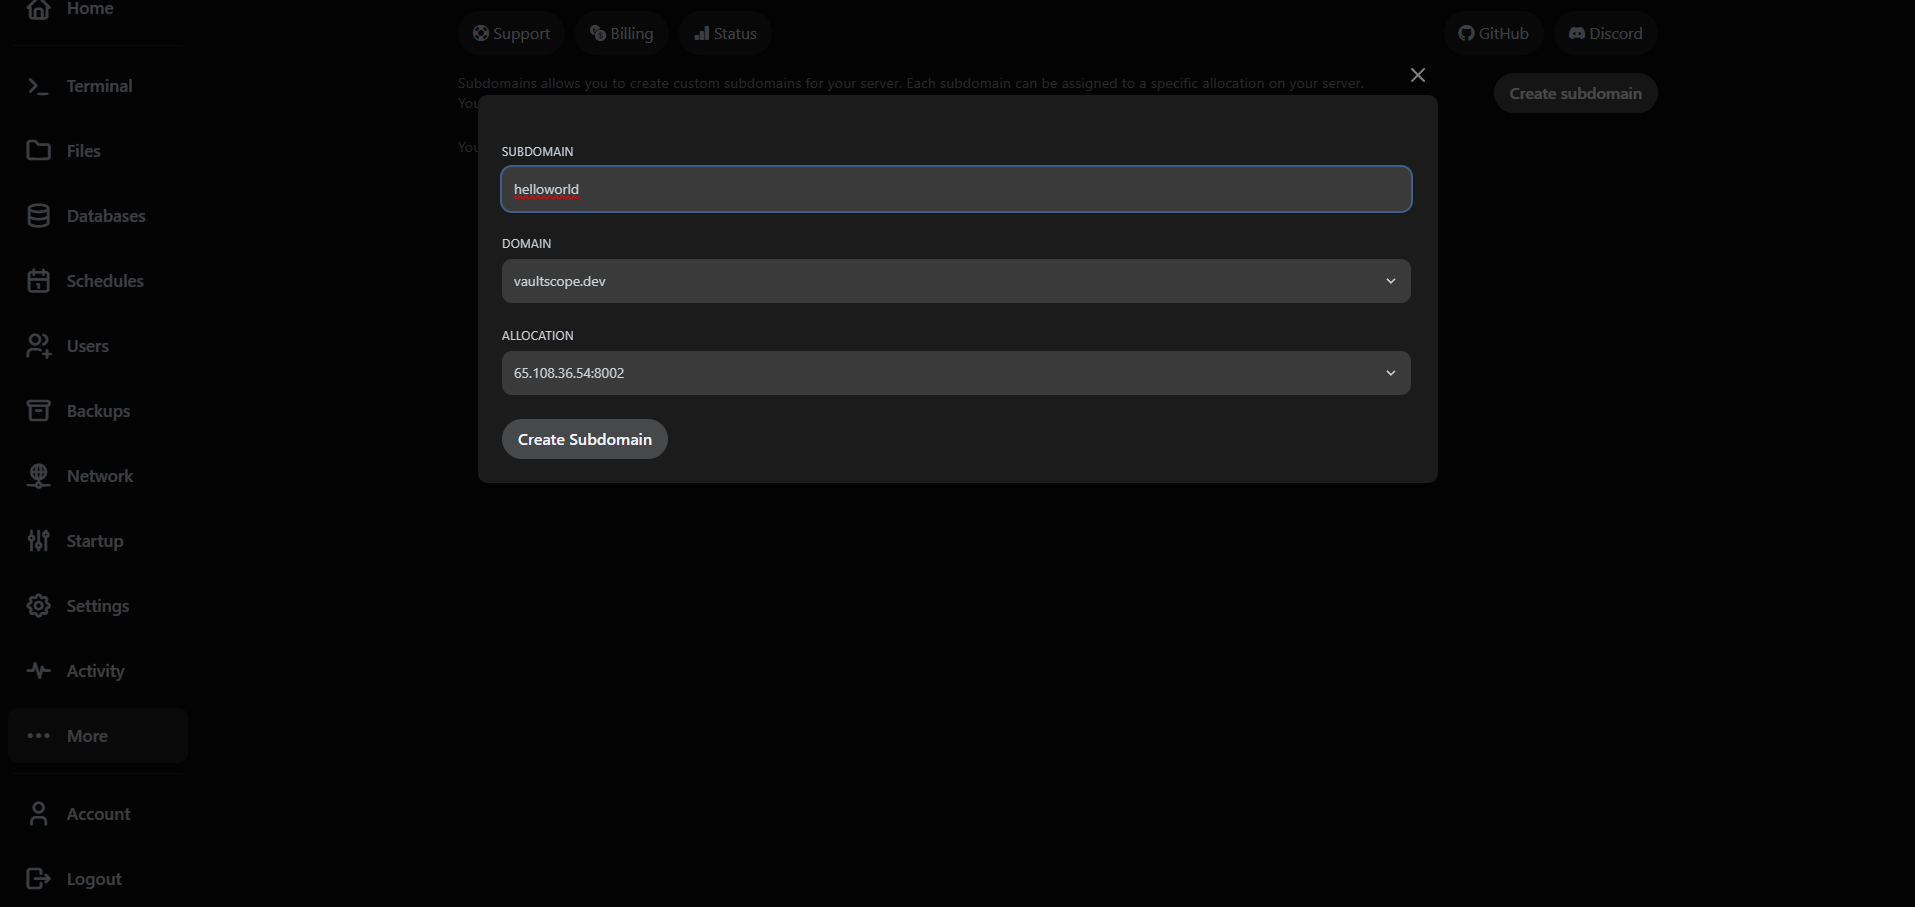
Need SSL or a custom domain? Reverse proxies handle certificates and edge routing while subdomains remain a lightweight pointer. Follow the reverse proxy walkthrough below to secure traffic end-to-end.
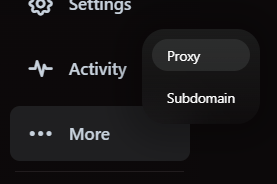
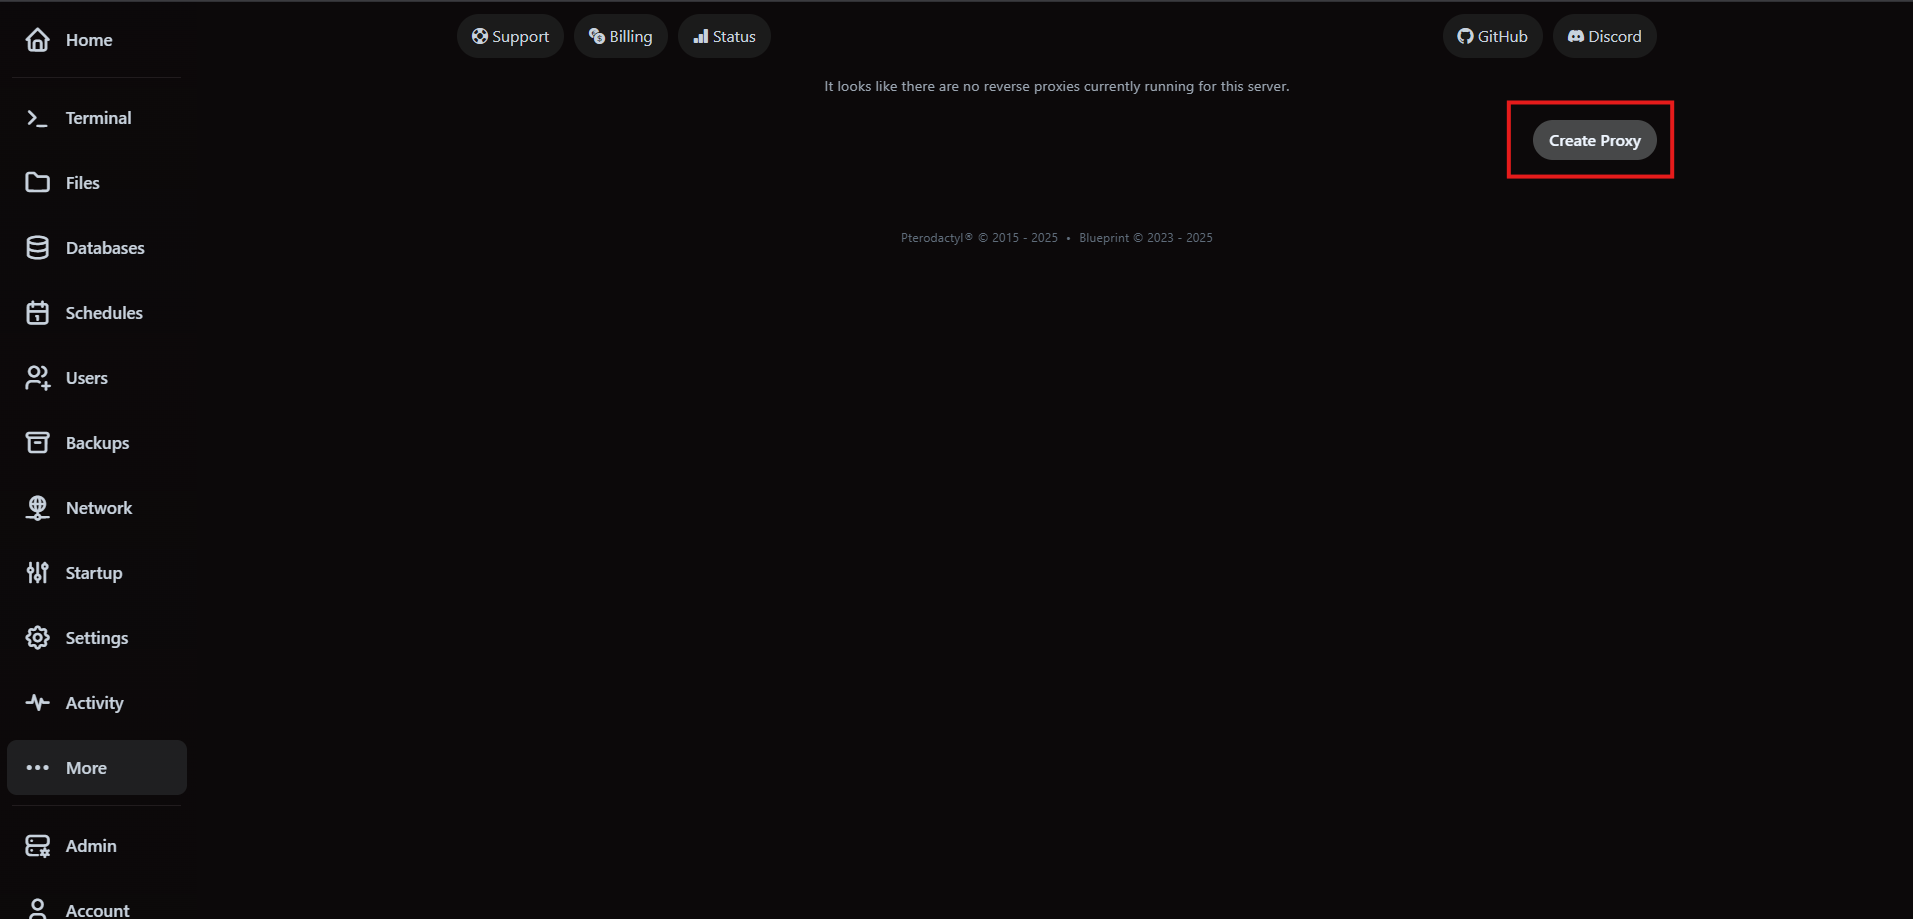
7. Publish reverse proxies for custom domains
Reverse proxies sit in front of your allocation, terminate SSL and forward traffic to the internal port. They are separate from subdomains—use subdomains for VaultScope-provided hostnames, and reverse proxies when you need custom domains or edge security controls.
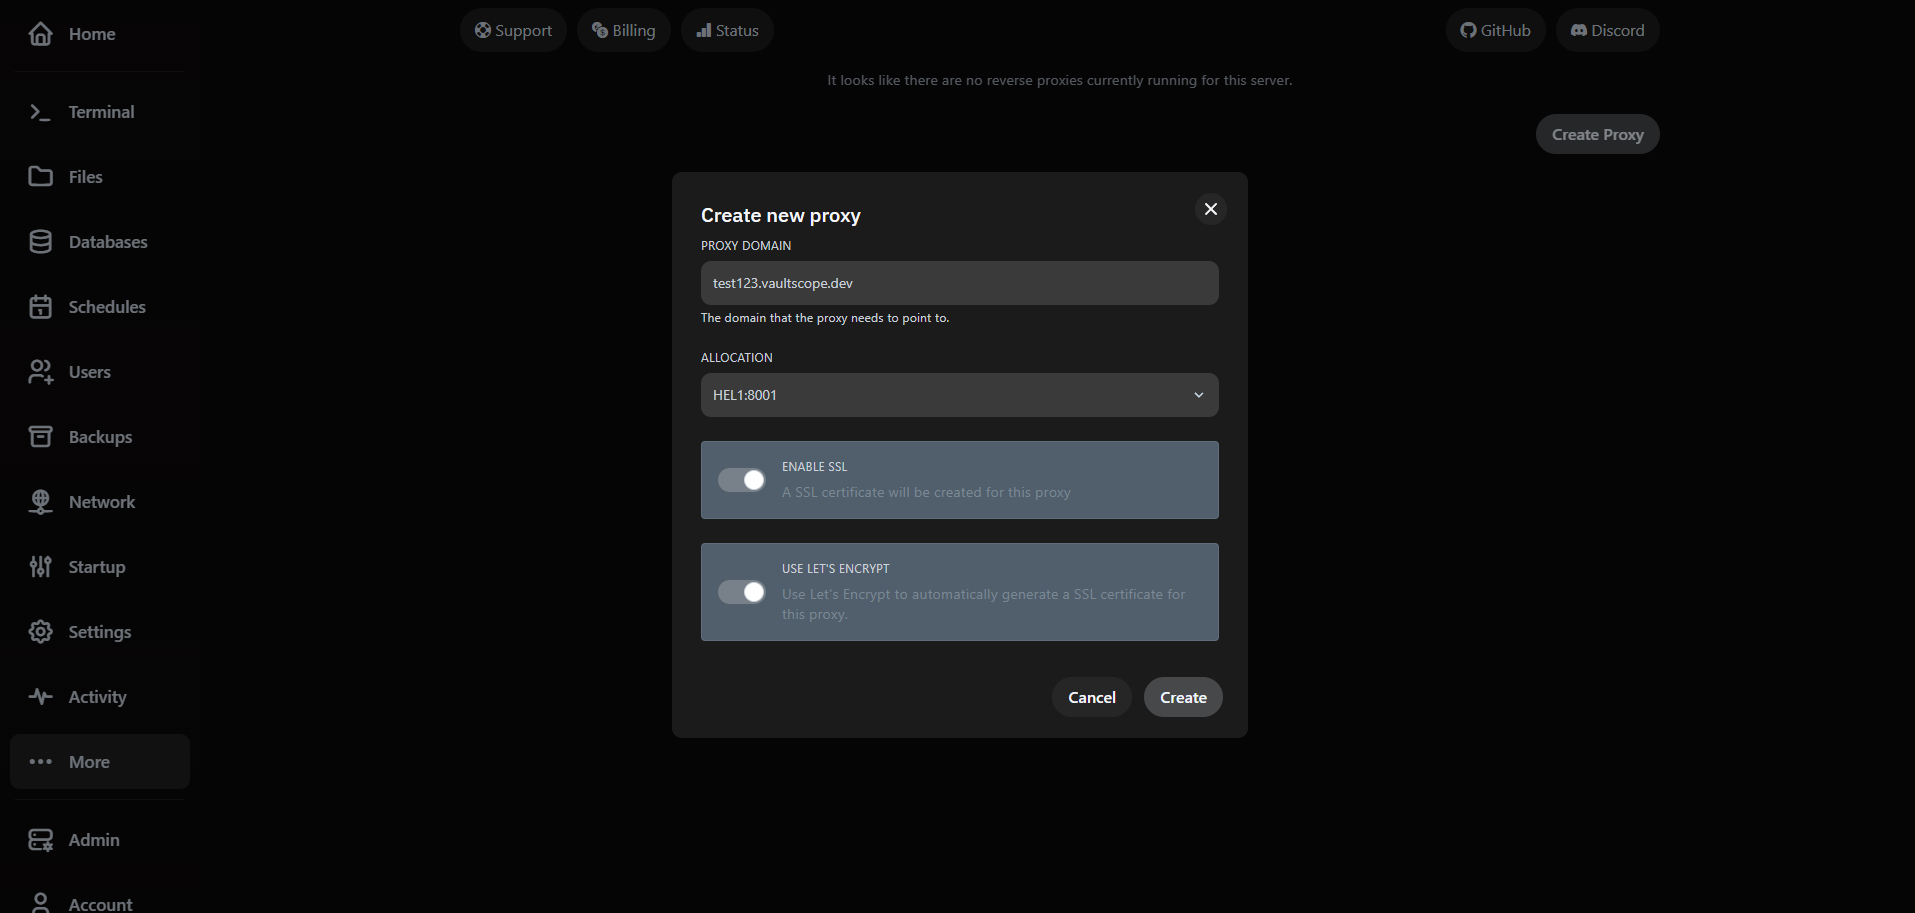
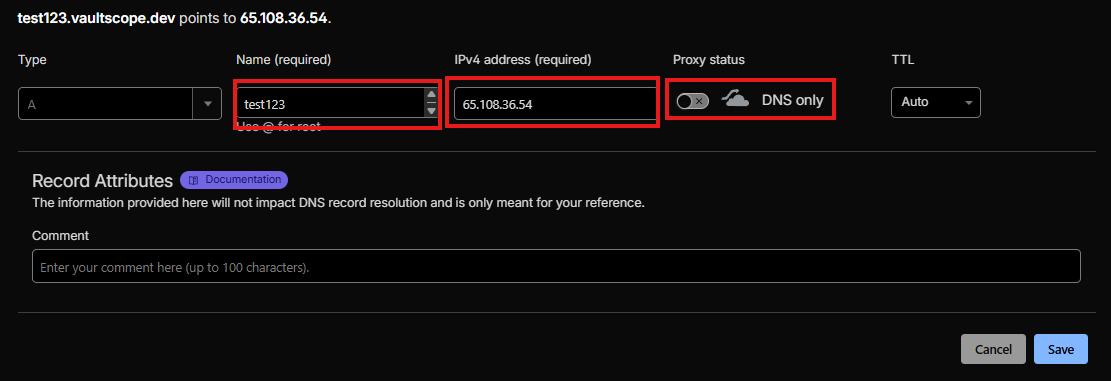
- Toggle Let's Encrypt to auto-issue certificates. If disabled, upload your own trusted certificate and private key pair.
- Keep Cloudflare/DNS proxies off while provisioning SSL; you can re-enable additional protection after validation succeeds.
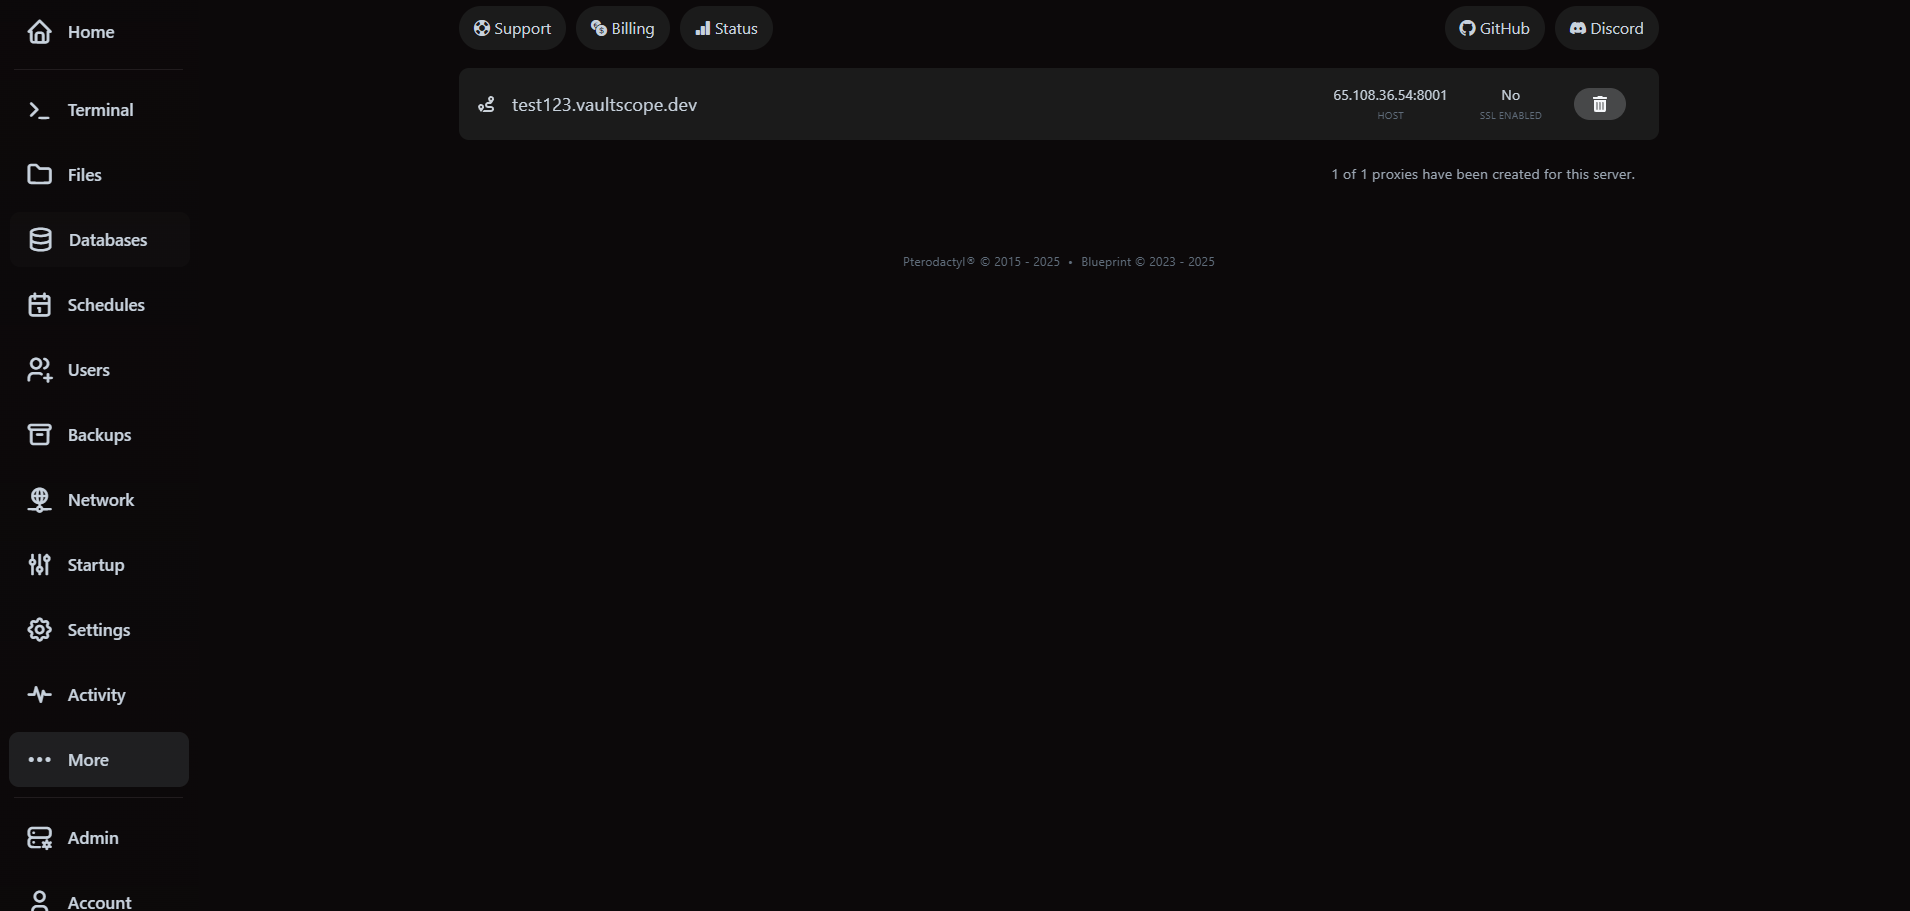
- Restart the workload after creating a proxy if it binds to the new hostname for virtual hosting rules.
Operational best practices
- Schedule a daily backup even if you use version control—snapshots simplify disaster recovery.
- Audit user access monthly and remove former collaborators right away.
- Tag subdomains with the environment name (e.g.,
prod-lobby) so the team recognizes them instantly. - Document every automated schedule in your internal runbook and link back to this guide for screenshots.